
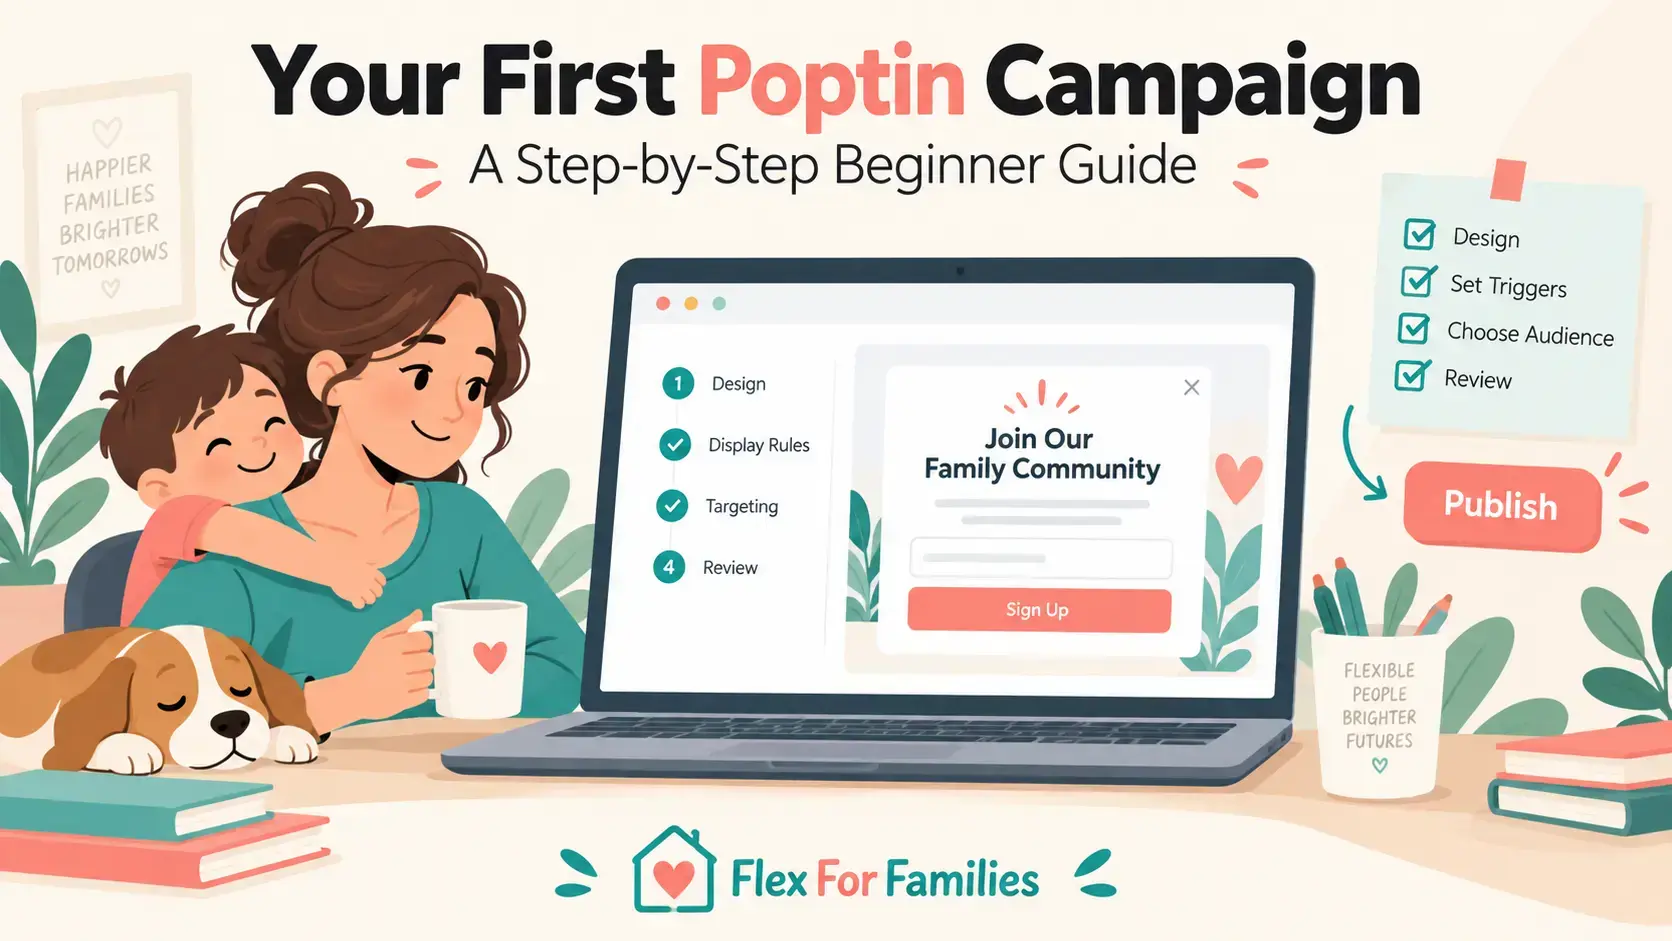
Poptin gives you plenty of options for creating popups, forms and targeted website campaigns.
That flexibility is useful once you understand the platform. It can also make your first campaign feel more complicated than it needs to be.
You do not need several popups, complex audience rules or an A/B test to get started.
You need one useful offer, a clear form and a working journey from your website to the promised follow-up.
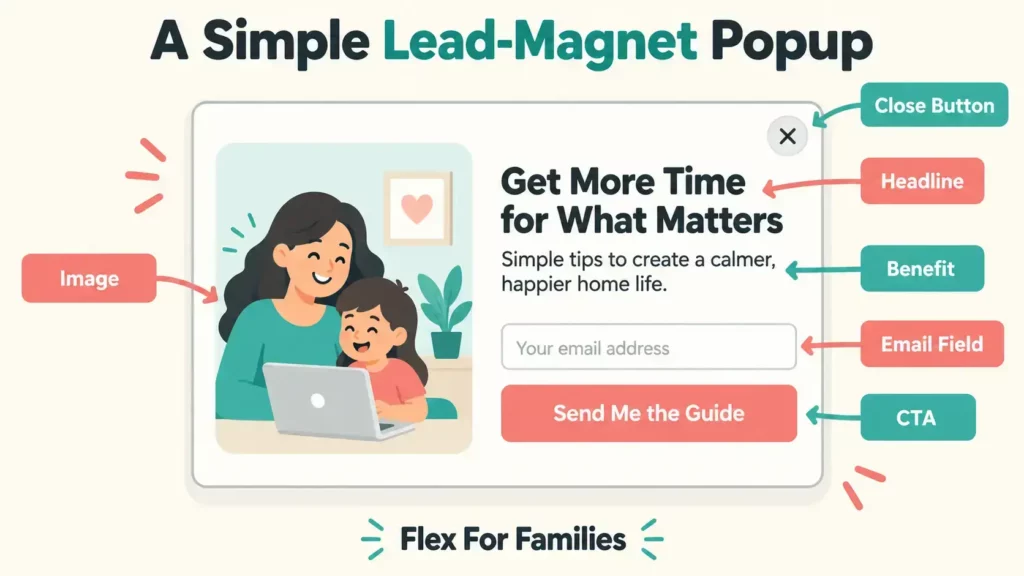
In this guide, I will show you how to create your first Poptin campaign from start to finish. We will use a simple lead-magnet popup as the example.
This is the same type of campaign I use on Flex For Families to promote my free Parent Blogging Starter Kit and send subscribers into Kit.
Heads up: I use Poptin on Flex For Families and am a member of its affiliate programme. This article may contain affiliate links, which means I may earn a commission if you sign up through them, at no extra cost to you. My guidance is based on my own experience using Poptin’s free plan.
How Do You Use Poptin on Your Website?
You use Poptin by connecting it to your website, creating a popup or form, choosing when it should appear and deciding what happens after a visitor submits their details.
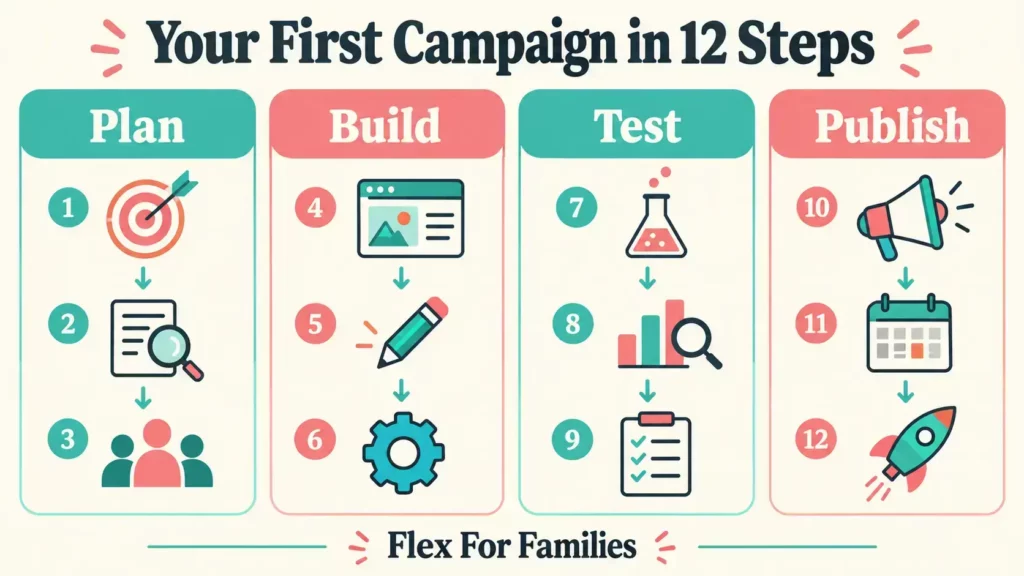
The complete process is:
- Create a Poptin account.
- Connect your website.
- Choose a campaign type.
- Select a template.
- Name the campaign and choose the domain.
- Customise the design and form.
- Create the success message.
- Connect your email platform.
- Choose a trigger.
- Set the targeting rules.
- Preview and test the campaign.
- Publish and monitor it.
Poptin’s current first-campaign guide follows a similar route from the Create button through template selection, customisation, display rules and publication.
What You Need Before You Start
Preparing the campaign outside the editor will make the setup faster.
Decide these five things before you begin.
1. Your Offer
What will the visitor receive or gain?
The offer could be:
- A downloadable guide.
- A checklist.
- A discount.
- A newsletter.
- A webinar invitation.
- A content upgrade related to the page.
My campaign offers the Parent Blogging Starter Kit. It gives busy parents practical resources for choosing a niche, planning content and organising realistic work blocks.
2. Your Headline
The headline should explain the offer quickly.
My popup uses a version of:
Get Your Free Parent Blogging Starter Kit
Avoid vague headlines such as “Join Us” or “Subscribe Today” unless the surrounding copy gives the reader a specific reason.
3. Your Call to Action
Use button text that confirms what the visitor will receive.
Examples include:
- Send Me the Starter Kit.
- Get the Free Guide.
- Send Me the Checklist.
- Join the Free Workshop.
4. Where the Subscriber Will Go
Decide which email platform, form, list or tag should receive the new subscriber.
I send Poptin subscribers to a selected form inside Kit.
5. What Happens After Submission
Prepare the delivery and follow-up before asking for an email address.
For a lead magnet, this may include:
- A confirmation message.
- A delivery email.
- A download page.
- A welcome sequence.
- Relevant consent and privacy wording.

Step 1: Create Your Poptin Account
Create an account through the Poptin website and enter the main dashboard.
The free plan can be enough for a small website to build and test its first campaign. At the time of writing, it supports one domain and up to 1,000 monthly visitors.
Do not upgrade simply because the paid plans contain more features. Build a working campaign first and identify which limit is creating a genuine problem.
My full Poptin Review 2026 covers the current prices, plan limits, advantages and drawbacks.
Step 2: Connect Poptin to Your Website
Poptin needs its script on your website before it can display a campaign.
The installation route depends on the platform you use.
Common options include:
- A WordPress plugin.
- A native app for a supported website platform.
- A JavaScript installation code.
- A tag-management setup.
WordPress users can normally install and connect Poptin through its plugin without manually adding the JavaScript code.
This article keeps the installation overview platform-neutral. The dedicated WordPress guide will show the complete plugin process, domain connection and live checks.
Step 3: Choose Your First Campaign Type
From the Poptin dashboard, select Create and choose between a popup and an embedded form.
For this tutorial, we are creating a popup for a lead magnet.
Lightbox Popup
A lightbox appears over the page content, usually near the centre of the screen.
It attracts attention and works well for a clear lead-magnet offer.
Slide-In
A slide-in enters from the side or corner.
It takes up less space and can feel less disruptive. I use a bottom-corner campaign after a reader reaches 50% scroll depth.
Floating Bar
A floating bar sits along the top or bottom of the screen.
It can work for announcements and short calls to action.
Full-Screen Campaign
A full-screen campaign creates a strong interruption.
It may suit an important promotion, but I would not make it the default choice for a beginner newsletter or lead magnet.
Embedded Form
An embedded form remains inside the page rather than appearing over it.
This can suit landing pages, article endings and dedicated sign-up sections.
For a straightforward first campaign, choose a lightbox or slide-in.
Step 4: Select a Template
Poptin lets you choose a template and filter options around goals such as growing an email list, generating leads, displaying announcements or increasing sales.
Choose the template for its structure rather than its existing colours or images.
Ask:
- Is the headline easy to read?
- Is there enough space to explain the offer?
- Does the form need only the fields I want?
- Is the CTA button obvious?
- Is the close button visible?
- Will the layout work on mobile?
You can change the design inside the editor.
Step 5: Name the Campaign and Choose the Domain
Give the campaign an internal name that will still make sense when your account contains several campaigns.
Useful names include:
- Starter Kit Main Popup.
- Blogging Guide Lead Magnet.
- Homepage Newsletter Popup.
- Exit-Intent Discount Campaign.
Avoid names such as “Popup 1” or “Test” because they become difficult to identify later.
Select the correct website domain.
Keep the campaign inactive while you customise and test it. This prevents an unfinished version from appearing to visitors.
Step 6: Customise the Popup
Poptin uses a visual editor. Its current popup platform supports text, images, buttons, form fields, videos, countdown timers and other draggable elements.
Your first popup does not need all of them.
Write a Clear Headline
State what the visitor will receive.
Better:
Get Your Free Parent Blogging Starter Kit
Less useful:
Never Miss an Update
The first version gives the visitor a specific reason to respond.
Keep the Supporting Copy Short
Use one or two sentences to explain the outcome.
Example:
Get practical resources to help you choose a niche, organise your ideas and build your blog around family life.
Use Only the Fields You Need
An email address may be enough for a basic lead magnet.
Adding a first-name field can help with personalisation. Every extra field also gives the visitor another decision to make.
Make the CTA Specific
Match the button to the offer.
“Send Me the Starter Kit” is clearer than “Submit.”
Match the Website Design
Check:
- Brand colours.
- Readable font sizes.
- Text and button contrast.
- Image size.
- Spacing around the form.
- A visible close button.
The popup should feel like part of the website rather than an unrelated advert.
Step 7: Create the Success Message
The success screen tells the visitor what happens after submission.
Poptin can display a confirmation message, hide the form or redirect the visitor to another page.
A useful message might say:
Your Starter Kit is on its way. Check your inbox and spam folder if it does not arrive within a few minutes.
This is more helpful than a message that only says “Success.”
If you redirect subscribers to a thank-you page, make sure the page confirms the next step and does not expose a private download in a way you did not intend.
Step 8: Connect Your Email Platform
The integration determines where the subscriber goes after completing the Poptin form.
Poptin’s integration directory currently includes Kit, Mailchimp, MailerLite, ActiveCampaign, HubSpot and many other platforms.
Select the correct service and destination.
Depending on your email platform, that destination could be:
- A form.
- A list.
- A tag.
- An audience.
- An automation entry point.
The Kit Problem I Found
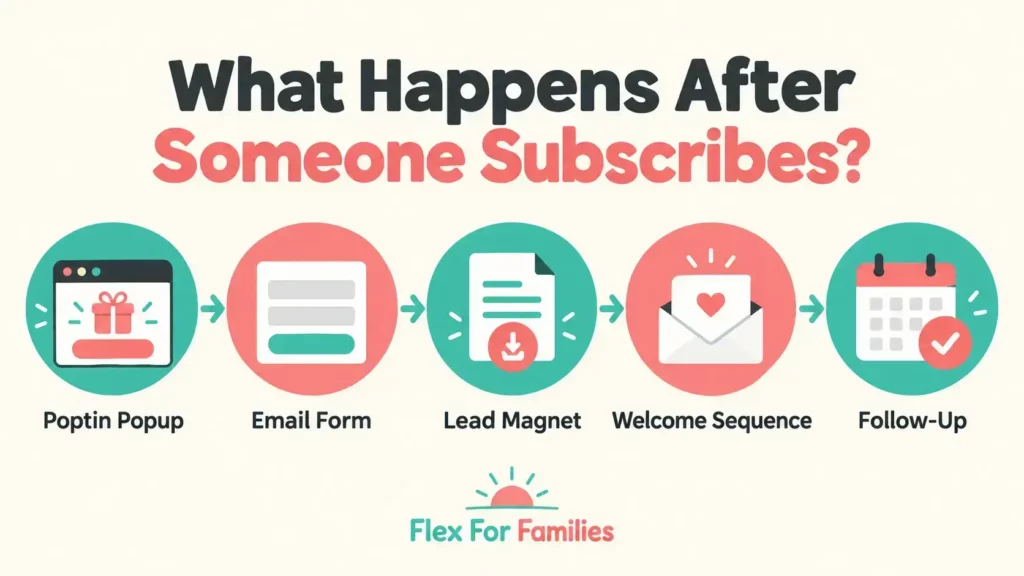
My original test subscriber reached Kit, but the intended Starter Kit sequence did not begin.
Poptin had transferred the email address correctly. The missing step was inside Kit.
I needed to connect the selected Kit form with the correct automation. I then tested again with a fresh email address and confirmed that the Starter Kit and welcome sequence arrived.
That experience showed why you should test the reader’s complete journey. A success message inside Poptin only confirms that the form accepted the submission.
Step 9: Choose a Trigger
The trigger controls when the popup appears.
Poptin’s current popup documentation lists triggers such as:
- Exit intent.
- Time delay.
- Page scroll.
- Page count.
- Click count.
- Inactivity.
- On-click.
- JavaScript triggers.
A Simple Beginner Starting Point
Choose one main trigger for your first campaign.
Good options include:
- A 20% to 40% scroll trigger.
- A short time delay.
- Exit intent on desktop.
My main Starter Kit popup can appear through exit intent or after 20% scroll. That gives the campaign two opportunities to appear.
A beginner may find one trigger easier to test and understand. You can add another when the first setup works correctly.
Step 10: Set the Targeting Rules
Targeting controls where the popup appears and which visitors can see it.
That is different from the trigger.
The trigger controls when.
Targeting controls where and who.
For a first campaign, focus on four areas.
Page Targeting
Display the popup on pages that match the offer.
A Parent Blogging Starter Kit fits blogging and flexible-income guides. It may be less relevant on an unrelated review.
Exclude pages where the campaign does not belong, such as the thank-you page.
Device Targeting
Decide whether the campaign should appear on desktop, mobile or both.
Preview each version before enabling it.
Visitor Rules
You may choose different behaviour for new and returning visitors.
Keep the first setup simple unless you have a clear reason for separate rules.
Display Frequency
Avoid repeatedly showing the same popup during one visit.
Frequency limits protect the reader experience and make campaign data easier to interpret.

Step 11: Preview the Campaign
Use Poptin’s preview function before publishing.
Check the popup on desktop and mobile.
Look for:
- Text that is too small.
- Images that crop badly.
- Buttons that are difficult to tap.
- Fields that extend beyond the screen.
- A close button that is difficult to find.
- A popup that covers too much content.
- Spelling or punctuation errors.
Previewing the design does not replace testing it on the live website. It gives you an opportunity to catch obvious problems first.
Step 12: Test the Complete Campaign
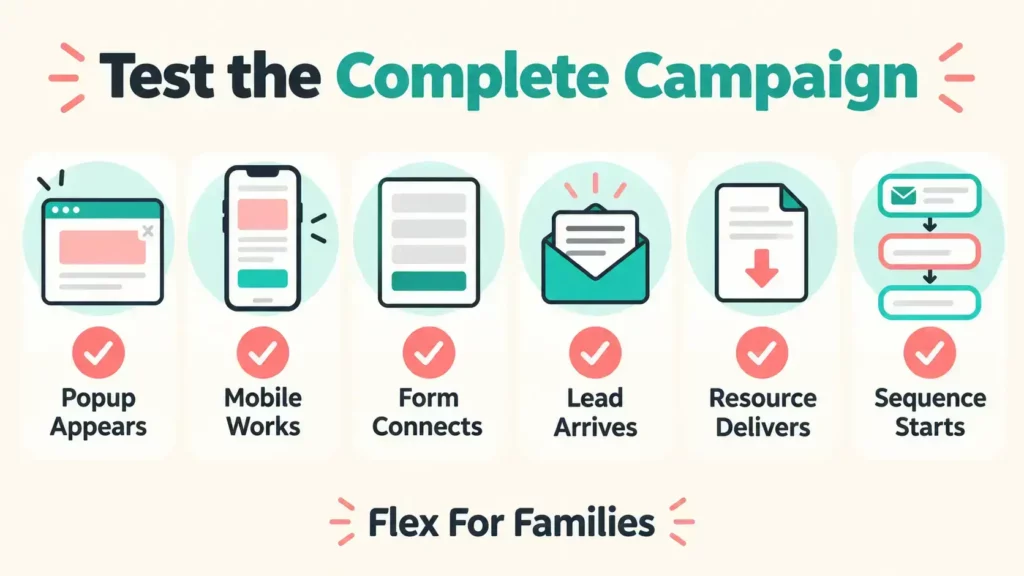
Use a fresh email address and test every stage.
Confirm that:
- The popup appears under the intended conditions.
- The page targeting includes the test page.
- The desktop and mobile designs work.
- The form accepts the email address.
- The success message or redirect appears.
- The subscriber reaches the correct email platform.
- The correct form, list or tag is applied.
- The lead magnet arrives.
- The welcome sequence begins.
- The popup does not immediately reappear.
Use a private browser window if cookies or frequency rules prevent you from seeing the campaign again.
Testing with an address already inside the automation can also produce a misleading result. A genuinely fresh address gives you a cleaner test.
Step 13: Publish the Campaign
Before selecting Publish, make one final check:
- Correct domain.
- Correct campaign status.
- Correct page targeting.
- Sensible trigger.
- Frequency limit enabled.
- Email integration connected.
- Mobile design checked.
Publish the campaign, then open the live website in a private browser window.
Recreate the chosen trigger conditions and complete one final submission if necessary.
What Should You Monitor After Publishing?
Your first goal is to confirm that the campaign remains functional.
Monitor:
- Visitors.
- Popup views.
- Conversions.
- Displayed conversion rate.
- Subscribers received by the email platform.
- Delivery failures.
- Unsubscribe or complaint signals.
Do not overreact to a small sample.
My latest 30-day figures when preparing the main review showed 237 popup views and two conversions. That confirmed that the funnel worked, but it was not enough data for a confident performance judgement.
One additional conversion would have changed the percentage considerably.
Common Problems With a First Poptin Campaign
The Popup Does Not Appear
Check the campaign status, domain, trigger, page targeting, device rules, frequency settings and cookies.
The Subscriber Does Not Reach the Email Platform
Check the integration, selected destination and required fields.
The Subscriber Arrives but the Email Does Not
Check the receiving form, tag or automation. Confirm that the delivery email is active.
The Popup Looks Too Large on Mobile
Adjust the mobile design separately. Reduce unnecessary copy and check the close button.
The Latest Changes Do Not Appear
Confirm that you saved and published the new version. Clear relevant website and browser caches before retesting.
The Popup Appeared Once but Will Not Reappear
Frequency rules and cookies may be working correctly. Test in a private window or use the appropriate reset method.
The Campaign Has Views but No Conversions
Check the offer, page relevance, headline, timing and reader experience. The software cannot make an irrelevant offer useful.
What Should You Do After the Campaign Works?
Keep the first version stable long enough to collect useful information.
Your next step could be:
- Improve the headline.
- Strengthen the lead magnet.
- Create a more relevant campaign for a specific content group.
- Add a smaller corner popup.
- Test a different trigger.
- Add an embedded form.
- Review mobile behaviour.
- Run an A/B test when there is enough traffic.
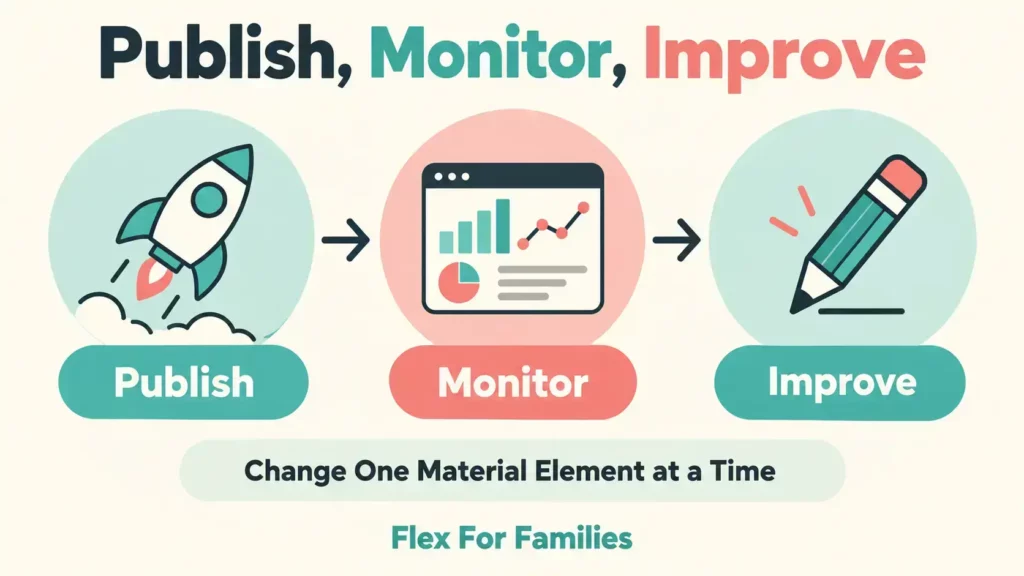
Change one material element at a time when you want to understand what affected the result.
Final Thoughts
Your first Poptin campaign does not need every available feature.
It needs:
- A useful offer.
- A clear headline.
- A simple form.
- A sensible trigger.
- Relevant targeting.
- A working integration.
- A complete test.
- Enough time to gather meaningful data.
Start with one campaign and make sure you understand the complete journey.
Once it works, you can add another format, refine the targeting or test a different version without wondering which part of the original setup was broken.
If you are still learning the platform, read What Is Poptin and How Does It Work? for a beginner-friendly overview.
The next tutorial in this series will explain how to create and customise a Poptin popup in more detail.
Build the Offer Behind Your Campaign
My free Parent Blogging Starter Kit includes practical resources to help you choose a niche, organise content ideas and plan realistic work blocks around family life.
Get the Free Parent Blogging Starter Kit
It is the offer behind my live Poptin campaigns, so you can see the finished reader journey for yourself.
Frequently Asked Questions
How Do I Use Poptin on My Website?
Connect Poptin to your website, choose a campaign type, customise a template and set its trigger and targeting rules. Connect the form to your email or customer-management platform, test the complete subscriber journey and publish the campaign. Monitor the live results before making major changes.
Do I Need Coding to Install Poptin?
Most users do not need coding for a standard Poptin setup. WordPress users can use the Poptin plugin, while several other website platforms have native installation options. Websites without a dedicated integration may need the Poptin JavaScript installed manually or through a tag manager.
Which Poptin Campaign Type Should a Beginner Choose?
A lightbox or slide-in is a practical starting point for a lead magnet. Lightboxes attract more attention, while slide-ins take up less space. Choose the format that matches the importance of the offer and test how it affects the experience on desktop and mobile.
How Do I Test a Poptin Campaign?
Use a fresh email address and recreate the chosen trigger on the live website. Confirm that the popup displays, the form submits, the subscriber reaches the correct destination, the lead magnet arrives and the welcome sequence begins. Also check that frequency rules prevent unnecessary repeat displays.
Why Is My Poptin Popup Not Showing?
The campaign may be inactive, connected to the wrong domain or excluded by its targeting rules. The trigger may not have been reached, while device settings, frequency limits, cookies, caching or visitor allowances can also prevent it from appearing during a test.
Can Poptin Connect With My Email Platform?
Poptin supports many native email and CRM integrations, including Kit, Mailchimp, MailerLite, ActiveCampaign and HubSpot. Select the correct form, list, tag or audience inside the receiving platform and test the delivery and automation separately.
Should I Use Exit Intent or a Scroll Trigger?
Use the trigger that matches the visitor’s likely behaviour and your offer. Exit intent can reach someone preparing to leave, while a scroll trigger reaches readers who have engaged with part of the page. A beginner may find one main trigger easier to test before combining several conditions.
Let’s Chat
What type of campaign are you planning to create first?
Are you promoting a lead magnet, newsletter, discount or something else?
Share your plans or setup questions in the comments. Your experience may help another beginner working through the same process.