

You have a published blog post that could be more useful, but you are unsure where to start. Should you change the title, add more keywords or rewrite the whole thing?
Start by identifying what the reader needs and where the existing article falls short. That gives each edit a purpose and helps you avoid spending a quiet evening changing things that were already working.
In this guide, I’ll walk through one illustrative update, from a broad meal-planning post to a more focused explanation someone could follow. You can apply the same decisions to a craft tutorial, budgeting article or another topic you understand well.
If you want a reusable list for every article, keep the Simple SEO Checklist For Parent Bloggers nearby. This walkthrough shows how to make the decisions behind those checks.
Quick Answer: How Do You Improve An Existing Blog Post For SEO?
Choose a post with a clear reason for improvement. Review its search data if available, identify the reader’s main task and check whether the article delivers on it. Then improve the title, opening, structure and useful detail, followed by relevant links and images.
Keep a record of what you change and review the evidence afterwards. A clearer article is a worthwhile editorial improvement, but changing it does not guarantee more search traffic.
Every parent blog starts somewhere. Here’s your roadmap through the Parent Blogging Success series — from your first post to building income that fits your family.
The Example We Will Work Through
Our fictional starting article is called “Meal Planning Tips For Busy Parents”. It contains general advice about making a list, choosing meals and shopping ahead, but it does not show readers how to put those ideas together.
Its main problem is that someone could finish reading and still not know how to plan the next week’s dinners.
We will give the article a more specific job: help someone plan five weeknight dinners around their household’s schedule.
This is an illustrative example, not a published case study. The titles and passages below were created to explain the process. There are no measured rankings, keyword volumes or traffic improvements attached to them.
Step 1: Decide Whether This Post Needs An Update
Open the article and ask what prompted the review. You might have found outdated information, a weak explanation, broken links or relevant search queries the post does not answer properly.
For our example, the reason is an identifiable content gap: the article offers tips without a practical sequence.
That is enough to justify an editorial update. We do not need to invent a ranking explanation first.
If You Have Search Console Data
In the Search performance report, select the period you want to review and filter to the article’s exact URL. Look at the page totals and query information together. Google’s Search performance report guidance explains the report and its filters.
Ask three questions:
- Are the reported searches relevant to the article?
- Is there enough information to distinguish a pattern from a few isolated appearances?
- Does the page actually answer the relevant questions being reported?
If you compare periods, use matching filters and comparable lengths. Remember that seasonal topics may behave differently at different times of year.
Low clicks alone do not establish that the title is poor. A small number of impressions gives you little evidence to judge, and average position is an aggregate rather than a fixed ranking.
If You Have No Useful Search Data
You can still improve a factual error or an explanation that is difficult to follow. Be clear that the decision comes from reviewing the content rather than from a demonstrated search trend.
If you are concerned that the page is not indexed, check its URL Inspection information. An absence of clicks does not tell you its indexing status. Resolve any confirmed technical issue before assuming a rewrite is the answer.
Step 2: Give The Article One Clear Reader Task
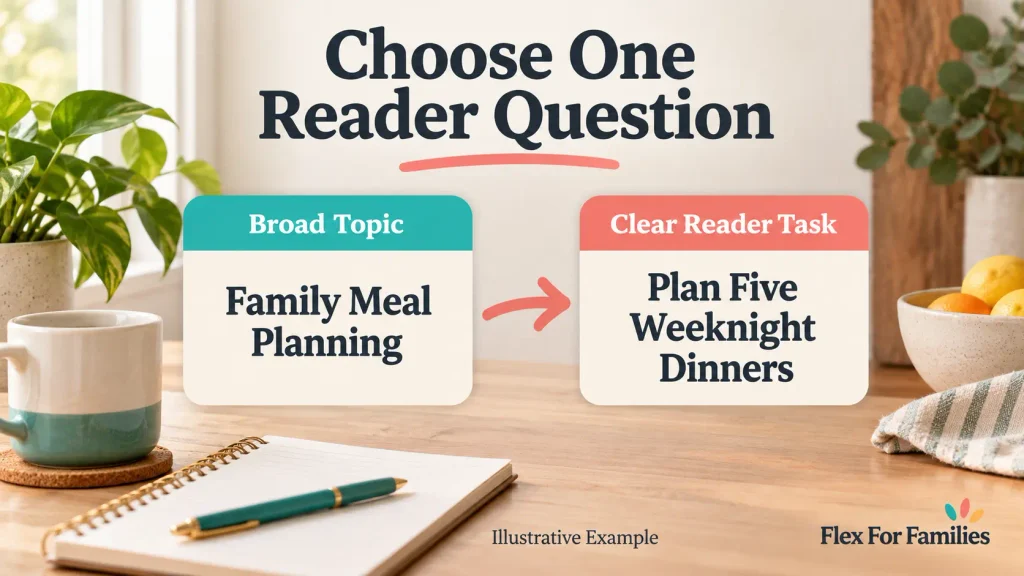
For our example, write the task in one sentence:
Help a parent choose five weeknight dinners, check what they already have and turn the plan into a shopping list.
That sentence gives us a way to judge each section. Does it help complete the task, or has it drifted into general household organisation?
Compare the two directions:
| Broad Topic | Clearer Reader Task |
|---|---|
| Family meal planning | Plan five weeknight dinners around the family schedule |
| Lots of tips about being organised | A sequence for choosing meals and preparing a shopping list |
| General encouragement | A practical example the reader can adapt |
Before committing, look at current search results for the topic you are considering. Notice whether people appear to need a tutorial, a printable planner, recipes or something else. Use that evidence to refine the scope rather than copying the structure of another article.
Also check your own site. If another page already teaches the same process, decide which page should serve that purpose before rewriting both.
For this fictional example, we are choosing a tutorial. A downloadable planner or recipe collection would be a different deliverable and should not be promised unless supplied.
Step 3: Make The Title Match The Revised Article
A title should help someone understand what they will get before opening the page.
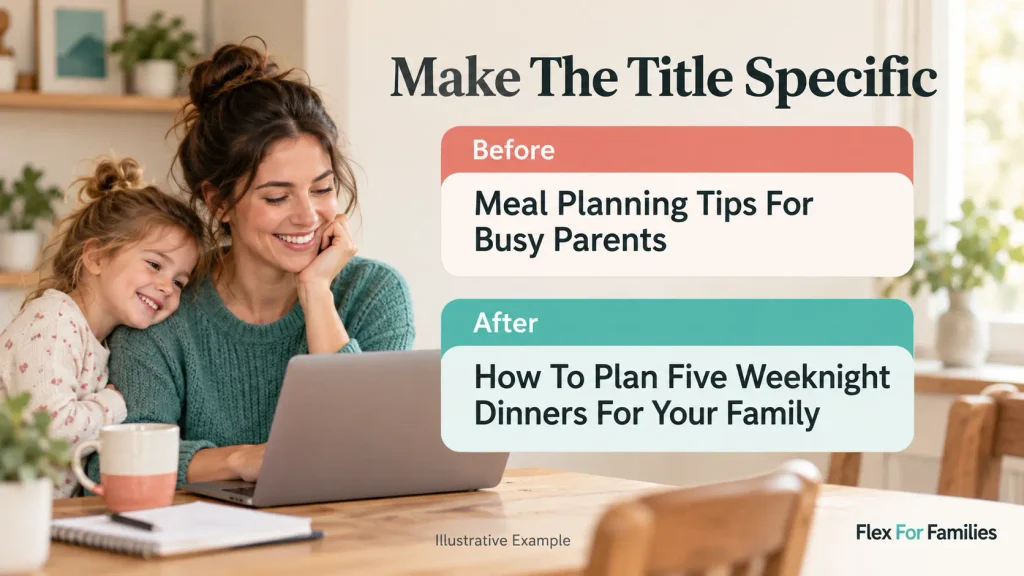
Before: Meal Planning Tips For Busy Parents
After: How To Plan Five Weeknight Dinners For Your Family
The revised title describes a particular task. It also gives us a commitment to meet: the article must explain the five-dinner planning process.
The original title is not inherently wrong. It would suit a useful collection of tips. We are changing it because the article’s purpose is becoming more specific.
For the meta description, an illustrative replacement could be:
Plan five weeknight dinners around your family’s schedule. Follow a simple example, check what you have and build a shopping list before you buy.
Only use that description if the article delivers those elements. The SEO title and description are suggestions you provide to search engines, not a guarantee of exactly what will appear in results.
For a straightforward update to an existing article, keep its URL. A clearer title does not require a new slug. Moving a page is a separate decision with additional implementation work.
Step 4: Replace A Vague Opening With A Useful Starting Point
The opening is where the reader checks whether they have found the right page.
Here is an illustrative opening that delays the practical answer:
Family life is busy, and meal planning can feel overwhelming. There are lots of things to think about when you want to become more organised. These tips will help you get started.
It recognises a familiar problem, but the reader still does not know what to do.
A more useful replacement is:
Start by checking which evenings need a quick dinner, then choose five meals and write down the ingredients you will need. Compare that list with your cupboards and fridge before making your shopping list. The example below shows how to put those steps together.
The second version gives an immediate starting point and tells the reader what follows. We can still write warmly without repeating the same reassurance in several paragraphs.
For help keeping your own voice in the explanation, see how to write blog posts that connect with readers.
Step 5: Build The Missing Explanation
Our original example used headings such as “Get Organised”, “Choose Your Meals” and “Be Consistent”. Those could introduce useful material, but they do not reveal much about the process.
The revised outline could be:
- Check Your Family’s Week
- Choose Five Dinners You Can Realistically Make
- Write Down The Ingredients
- Check What You Already Have
- Build Your Shopping List
- Keep One Flexible Option
Now add detail that helps someone complete each step. Under the first heading, explain what to check: late finishes, activities and evenings when cooking time is limited.
An illustrative planning table might look like this:
| Evening | Available Time | Example Dinner |
|---|---|---|
| Monday | Short cooking window | Vegetable omelette and toast |
| Tuesday | More time at home | Pasta with tomato sauce |
| Wednesday | Late return | Jacket potatoes with a suitable topping |
| Thursday | Ordinary evening | Stir-fry using vegetables on the shopping list |
| Friday | Flexible evening | A family favourite chosen in advance |
These are example choices, not nutritional recommendations or tested cooking-time claims. A real article should adapt its examples to the audience and explain any preparation needed.
The next paragraph could show how to move from the table to a list:
Write the ingredients for each dinner in one place. Combine repeated items, then check the quantities you already have. The remaining items become your shopping list.
That detail connects the steps. Adding another paragraph about why planning matters would not fill the same gap.
If you have actually used a method, include what happened and what you would change. If you have not tested it, keep the example clearly labelled rather than presenting it as your experience.
Step 6: Add Links And Images That Support The Task
For the fictional meal-planning article, a relevant internal link might lead to an existing shopping-list template or a recipe used in the example. Only add it if the destination exists and helps the reader.
Use descriptive anchor text such as “weekly shopping-list template”. Avoid vague links that interrupt the explanation without making their destination clear.
An existing recipe or household-planning article might also be a useful place to link back to the updated guide. Review the surrounding paragraph before adding the link.
There is no link quota to fill. Google’s link best practices emphasise descriptive text and relevant context.
Choose A Visual With A Job To Do
A photograph of an actual completed planner could help readers see the finished task. If it is your own example, remove private details before using it. An illustrative planner should be labelled as such.
Keep the instructions in ordinary page text as well. Readers should not have to decipher an image to understand the process.
For informative images, write alt text that describes the information they contribute. Purely decorative images should have empty alt text. The W3C image tutorial explains how purpose changes the appropriate description.
Resize images for their intended use and check readability on mobile. More graphics are not automatically more useful; each should support the explanation.
Step 7: Publish The Update And Record What Changed
Save a copy or revision of the existing article before replacing it. Preview the revised page, check the links and make sure the title and description still match the copy.
For our example, a change note could say:
Refocused the article on planning five weeknight dinners. Rewrote the title and opening, added a practical sequence and example table, and reviewed supporting links and images.
Record the actual update date. Do not describe the original publication date as the date you first wrote the replacement text.
After publishing, open the live URL. Check the page itself rather than assuming the editor preview tells the whole story.
For a substantially updated page, you can use Google’s indexing request process. Requests are optional and do not guarantee inclusion; repeatedly submitting the same URL does not make crawling faster.
Step 8: Review The Evidence Before Editing Again
Give yourself a review point instead of repeatedly changing the page after each new impression. Around four weeks can be a useful first check, with a later review when more data is available. Sparse data may need a longer window.
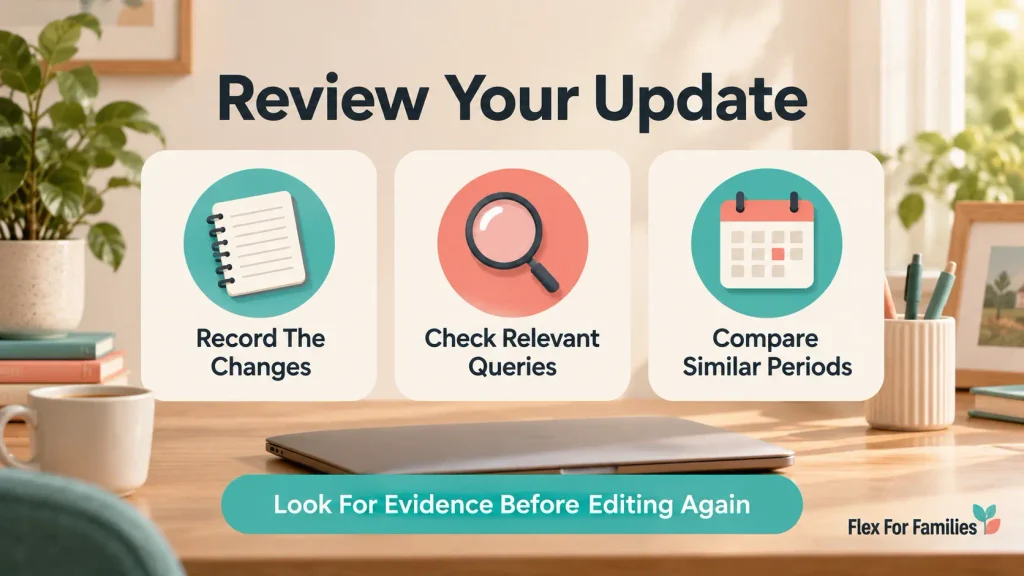
Compare similar periods and look at the questions being reported alongside page totals. For the fictional meal-planning post, relevant evidence would concern meal planning and organising dinners, rather than unrelated searches that happen to contain the word “family”.
Ask whether the updated page is reaching relevant searches, whether readers are clicking and whether the article needs another specific improvement. Also consider seasonal demand and other changes to the site.
Do not declare success from a small rise in impressions or failure from a few quiet days. Google notes that the impact of changes varies, and some edits may have no noticeable effect in search.
In our example, we can say the article now provides a usable process. We cannot say it gained rankings or traffic because this is not a measured case study.
What Changed In The Example?
| Element | Before | After |
|---|---|---|
| Purpose | General meal-planning tips | A five-dinner planning process |
| Title | Broad topic | Specific reader task |
| Opening | Reassurance before direction | Immediate starting point |
| Structure | General advice headings | Steps in the order someone needs them |
| Detail | Suggestions without a complete sequence | Example plan and explanation of the shopping-list step |
| Supporting Assets | No clear requirement | Relevant links and a useful visual if available |
| Review | No recorded baseline | Dated change note and a planned evidence review |
The aim is to make the article easier to act on. A longer word count or a higher plugin score would not establish that by itself.
Frequently Asked Questions
Should I Rewrite The Whole Post Or Change A Few Sections?
Keep the useful material if the article already answers the right question. A targeted change may be enough for an outdated fact or a weak section. Consider a larger rewrite when the purpose, structure or explanation needs substantial work, as in our illustrative example.
Can I Improve A Post Without Search Console Data?
Yes. You can correct errors, clarify confusing instructions and add genuinely useful detail. Describe those as editorial decisions rather than claiming they respond to a demonstrated search opportunity.
Should I Add Every Query I See In Search Console?
No. Check whether the query represents a reader need that belongs in the article. A loosely related phrase or an isolated appearance is not enough reason to add a section.
Should I Change The URL When I Change The Title?
Usually, keep the existing URL for an update to the same article. If the URL itself needs to change, plan that separately, including how existing links and redirects will be handled.
Will Updating The Post Get It Indexed?
Not necessarily. Check the reported indexing state and investigate relevant technical or content issues. A rewrite cannot guarantee that a search engine will include the page.
Final Word: Give Each Edit A Clear Purpose
Improving an old post starts with understanding the job it needs to do. In our example, that meant replacing broad advice with a sequence a parent could follow from choosing dinners to preparing a shopping list.
Use the same approach on one of your own articles. Identify the missing answer, decide what is worth keeping and make changes that help the reader complete the task. Then record the update and allow enough evidence to accumulate before deciding what comes next.
You can use the Simple SEO Checklist For Parent Bloggers for the final publishing checks. If you are organising the wider foundations of your blog around family life, explore the Parent Blogging Starter Kit.
Let’s Chat
Do you have an older post that offers plenty of advice but still needs a clearer practical example?
Which part would you improve first: its title, opening, structure or missing detail? Share your starting point in the comments.