


You can spend an evening improving a blog post and still overlook a problem elsewhere on the site. A public article might be difficult to reach through your navigation, an old setting might discourage indexing, or a broken page might interrupt the reader’s next step.
Before changing more keywords, give your blog’s foundations a practical check.
This guide helps you identify what to inspect, record what you find and decide which problems deserve attention first. You do not need to change every setting or understand every technical term to begin.
For checks on an individual draft, use the Simple SEO Checklist For Parent Bloggers. For a worked example of improving an older article, see SEO Made Simple For Parent Bloggers. Here, we are looking at the site around those posts.
Quick Answer: Which SEO Foundations Should You Check First?
Start with the pages you want people to find. Check that they open publicly, that important content is visible, and that readers can reach them through relevant links. Then review the available search inspection information, sitemap setup and mobile experience.
Fix confirmed access problems before spending time on optional refinements. Keep a note of the page, the evidence and what you changed so you can check the result afterwards.
These checks support a usable, discoverable site. They do not guarantee indexing or rankings. Google’s technical requirements include crawler access, a successful page response and indexable content, but eligibility is not a promise of inclusion.
Understand Discovery, Crawling, Indexing And Ranking
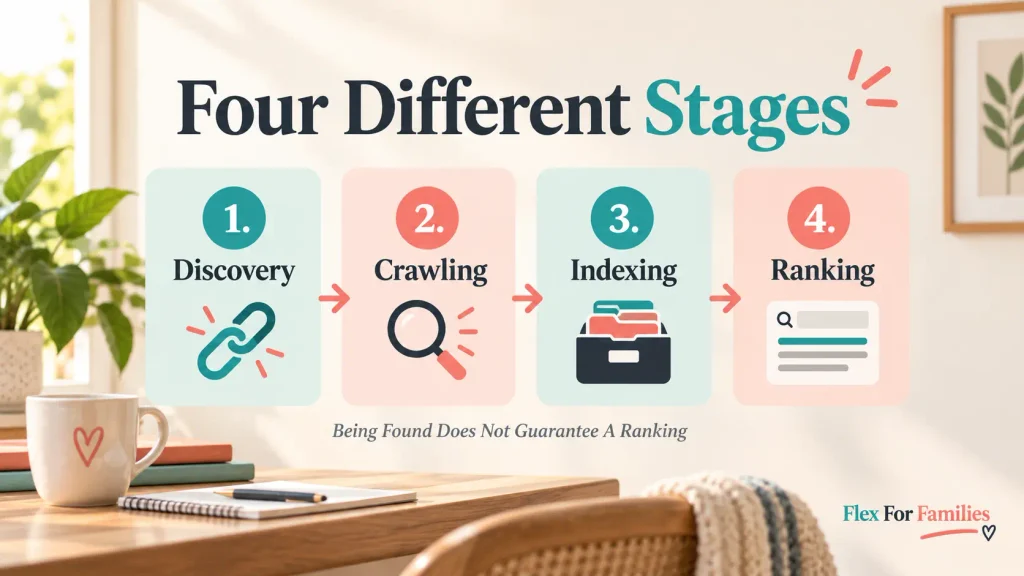
These terms describe different parts of the process:
| Stage | Plain-English Meaning |
|---|---|
| Discovery | The search engine learns that a URL exists. |
| Crawling | It requests the page and retrieves what it can access. |
| Indexing | It processes the content and decides whether to include it in its index. |
| Ranking | It selects and orders results for a particular search. |
A link can help a page be discovered without guaranteeing that it will be indexed. An indexed article can receive no clicks. A page appearing in one search does not mean it will hold the same position for every reader.
That distinction helps you choose the next investigation. A page that will not load needs a different response from an accessible article that does not answer its intended question well.
Step 1: Choose A Small Set Of Important Pages
Start with your homepage, a main topic page and two or three articles you want readers to find. Include a recently published or substantially updated article if you have one.
This is a manageable sample, not proof that the entire site is healthy. If you find a recurring issue, you can investigate other pages using the same template or section.
Make a simple note for each URL:
- What the page is meant to help someone do.
- Whether it should be publicly accessible and appear in search.
- Whether it opens when you are logged out.
- How a reader can reach it from another relevant page.
- Any inspection status or error you want to understand.
Do not treat every URL as equally important. An old duplicate, a private page or an administrative address may have a different purpose from a public tutorial.
Step 2: Check The Pages As A Visitor
Open each selected page in a private browser window while logged out of your website. Confirm that the expected article appears and can be read without an account.
Check the actual URL, not just a preview inside the editor. Look for:
- An error message instead of the article.
- An unexpected login or coming-soon screen.
- A redirect to an unrelated page.
- Missing main text or images.
- A notice or overlay that prevents normal reading.
If something fails, record the URL, what appeared and when you checked it. A screenshot can help your host reproduce the problem.
Opening successfully in your browser is useful evidence about the visitor experience. It does not prove that a search crawler receives the same response. Use inspection information or ask your host to investigate when the reports and your browser disagree.
Do not turn a deliberately private page into a public one simply to clear an SEO warning. Establish what the page is for first.
Step 3: Review Search Visibility Settings
On a standard self-hosted WordPress installation, check Settings → Reading → Search Engine Visibility. WordPress documents the option to discourage search engines from indexing the site.
If your site is intentionally public and ready for discovery, that option should not remain selected by accident. If the site is private, under development or managed by someone else, establish why the setting is in use before changing it.
This setting is not a privacy lock. It asks search engines not to index the site; it does not prevent someone from opening a public URL.
WordPress.com and managed hosting services may provide additional privacy or coming-soon controls. Follow the documentation for your actual setup rather than assuming every dashboard is identical. My WordPress.com And WordPress.org comparison explains the platform distinction.
Keep Crawling And Indexing Controls Separate
A robots.txt rule manages crawler access. A noindex instruction tells a supporting search engine not to include a page in its index. They are not interchangeable.
Google must be able to crawl a page to see a page-level noindex instruction. Blocking crawling can prevent it from reading that instruction. See Google’s guidance on blocking indexing.
You do not need to edit these controls by hand to complete this review. If an important public page reports an unexpected restriction, note the evidence and ask whoever manages the website where that restriction comes from.
Step 4: Inspect One Important URL In Search Console
If you have access to the correct Search Console property, enter the full page URL in URL Inspection. Record the reported status, the last crawl date and any explanation for exclusion.
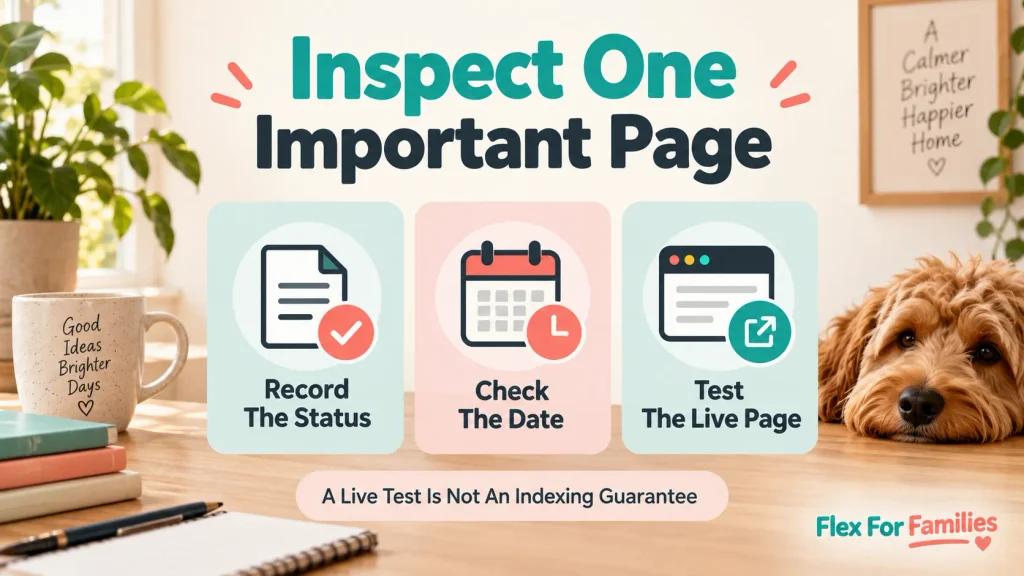
The initial report reflects Google’s stored information. A live test checks the current page and can help when something has changed since the last crawl. A successful live test is not confirmation that the page is indexed, and it does not predict Google’s selected canonical.
The canonical is the version treated as the main URL when similar versions exist. An unexpected selected canonical is something to investigate, not a reason to change tags blindly. Google’s URL Inspection documentation explains the report and its limits.
Interpret The Status Before Choosing A Fix
| Reported Situation | Sensible Next Step |
|---|---|
| The page is indexed | Review relevance and performance separately; indexing does not guarantee clicks. |
| An unexpected noindex or access restriction is reported | Check whether it is intentional, then investigate the source if it is not. |
| Discovered – currently not indexed | Google knows the URL but has not crawled it; check discovery paths and the available evidence. |
| Crawled – currently not indexed | Google has crawled it but has not indexed it; review the page’s purpose, uniqueness and other evidence without assuming one cause. |
| A duplicate or alternate version is reported | Check whether the preferred version is the one you intend. |
Neither of the “currently not indexed” statuses automatically means the article needs a rewrite. Google’s Page indexing guidance explains the individual reasons and why some exclusions are appropriate.
If you also use Bing Webmaster Tools, record its findings separately. A Google status does not establish Bing’s status for the same page.
Step 5: Check Your Sitemap Setup
A sitemap lists URLs to help search engines discover content. Your publishing platform or SEO plugin may already generate one.
Find the sitemap address in the documentation or settings for your current setup. Avoid installing a second tool just because a tutorial names a different sitemap filename.
Open the sitemap or sitemap index. A sitemap index may lead to separate lists for posts, pages or other content. Check whether a sample of your intended public articles appears in the relevant list.
In Search Console’s Sitemaps report, review the submitted sitemap’s status and any reported errors. A successful submission does not mean that every listed page has been indexed. Google describes a sitemap as a discovery aid, with no crawling or indexing guarantee.
If a key article is missing, first check whether it is published, whether it is intentionally excluded and which tool generates the list. Ask your host or plugin support to explain the omission if the answer is unclear.
Keep sitemap and page settings consistent with the site’s intended public content. Do not add private or duplicate URLs merely to increase the total.
Step 6: Give Important Pages A Clear Place In The Site
Choose one important article and start from your homepage. Follow the navigation, topic pages and relevant article links as a new reader might.
Can you find it through a sensible route, or would you need to know its URL already?
An illustrative structure might be:
Homepage → Blogging Resources → SEO Checklist
That is an example of a meaningful path, not a rule that every page must be exactly three clicks away.
Use your main navigation for major destinations. Use topic pages to introduce related resources, and contextual links to connect articles where the next page adds useful detail.
For example, a post about writing an article can link to a publishing checklist at its review stage. A tutorial about updating an old article can link to a guide explaining indexing checks when that question arises.
Check the link text too. It should help the reader predict the destination. Google’s link guidance covers descriptive text and crawlable links.
Avoid Creating Several Pages With The Same Job
If several guides answer the same question in almost the same way, clarify their roles before expanding them all.
You might keep one checklist, one worked example and one site-foundations guide. Each then has a reason to exist and a useful place to link to the others.
Do not redirect or delete a page solely because its title resembles another. Review the content, existing links and available search evidence before making that decision.
Step 7: Check The Mobile Experience And Broken Links
Open the selected pages on your phone. Try reading a section, following a link and using any table or button.
Look for practical problems:
- Text that is too small to read comfortably.
- Images wider than the screen.
- Content that jumps while loading.
- Menus or overlays that cover the article.
- Tables that lose important information on a narrow screen.
- Links that lead to an error or an unexpected destination.
Record the specific page and behaviour. “The comparison table cuts off the final column on my phone” is more useful than “the site needs better SEO”.
For loading problems, PageSpeed Insights can help identify areas to investigate. Its reports can include both simulated test results and real-user data when available. Missing real-user data is not a passing result, and one test score is not a ranking diagnosis. Google explains those distinctions in its PageSpeed Insights documentation.
Fix a broken internal link by pointing to the correct existing destination when you know it. If the original page has gone and there is no suitable replacement, remove or revise the reference. Do not send every broken link to the homepage regardless of context.
Step 8: Decide What You Can Fix And Where You Need Help
Some findings are ordinary editorial work. Others involve the platform or hosting setup.
| Finding | First Action |
|---|---|
| A relevant article has no useful incoming link | Add a contextual link from an appropriate existing page. |
| A menu label is confusing | Clarify it so visitors understand the destination. |
| An image or table is difficult to use on mobile | Adjust the content or layout and preview again. |
| An important public page reports an unexpected noindex | Identify the setting or template producing it before changing anything. |
| Pages repeatedly return server errors | Give your host the affected URLs, times and evidence. |
| Google appears to select an unexpected canonical | Review the related URLs and ask for technical help if the cause is unclear. |
WordPress also provides a Site Health screen for configuration information and recommended improvements. It is not an SEO score or proof that your pages will rank, but its findings may help your host understand a technical issue.
You do not need to buy a collection of tools to make this first pass. If you later need help choosing one, use the SEO Tools For Bloggers guide rather than installing several plugins with overlapping jobs.
When asking for support, include the exact URL, what you expected, what happened, the date checked and any relevant report wording. Avoid sending passwords or private account details in an ordinary support message.
Turn The Findings Into A Short Action Plan
Work on confirmed problems first. A useful order is:
- Access: address errors or unintended restrictions affecting important public pages.
- Discovery: review sitemap problems and missing internal paths.
- Reader Experience: fix broken links, awkward layouts and loading problems.
- Content: use the article-level guides to improve answers where needed.
This is a practical starting order. A serious usability problem may deserve immediate attention, and a clean inspection report does not mean the article itself is useful.
Keep a small change log:
| Page Or Area | Finding | Action | Checked Again |
|---|---|---|---|
| A key tutorial | No contextual link from its topic page | Add a relevant link | Open the topic page and test it |
| A public article | Unexpected inspection restriction | Ask the host to identify its source | Review the page and inspection evidence after the fix |
These are illustrative entries, not reported problems on Flex For Families.

Frequently Asked Questions
Does Every Page Need To Be Indexed?
No. Focus on the preferred versions of important public pages. Some duplicate, private or intentionally excluded URLs do not belong in search results. Understand the reason for an exclusion before trying to remove it.
Will A Sitemap Get My Blog Indexed?
A sitemap can help discovery, but submitting one does not guarantee indexing. The pages themselves still need to be accessible and suitable for inclusion.
Should I Install Another SEO Plugin To Fix A Warning?
Identify the problem and the tool already managing that setting first. Another plugin may add complexity without resolving the cause. Ask your current provider for guidance when responsibilities are unclear.
Should I Request Indexing After A Fix?
For an important new or updated page, an indexing request can be appropriate after you have checked the relevant fix. Google’s recrawl guidance explains the process. Repeated requests do not make crawling faster, and a request is not a guarantee.
How Often Should I Repeat These Checks?
Repeat the relevant checks after a substantial site change, a reported error or an unexpected loss of access. You can also review a small sample periodically. There is no need to change settings every time you inspect the site.
Final Word: Build On A Site Readers Can Use
A useful foundations check ends with a clearer understanding of your website. You know which pages should be public, how readers can reach them and whether any reported issue needs attention.
Start with a few important pages. Record what you find, fix a confirmed problem and check the result. Ask for technical help when the evidence points beyond an ordinary content edit.
Once the foundations are in place, return to the work each article needs to do. A functioning site and helpful content support each other; neither is a shortcut to guaranteed traffic.
If you are organising your blog around family life, explore the Parent Blogging Starter Kit for your next step.
Let’s Chat
Which part of your blog’s setup feels least clear: search visibility, sitemaps, internal links or the reports in Search Console?
Share the check you want to understand better in the comments. If you have already fixed a foundations problem, what helped you identify it?