
You can add Poptin to WordPress without editing your theme or pasting JavaScript into your website.
The simplest method is to install the official Poptin plugin, activate it and create or connect your Poptin account through the WordPress dashboard.
That is the route I used on Flex For Families.
I installed Poptin through WordPress, created my account through the plugin and then built the campaigns that now appear across the website.
In this guide, I will show you the complete installation process. We will also check that the correct domain is connected, publish a test campaign and work through the most common reasons a popup might not appear.
Heads up: I use Poptin on Flex For Families and am a member of its affiliate programme. This article may contain affiliate links, which means I may earn a commission if you sign up through them, at no extra cost to you. My guidance is based on my own experience using Poptin’s free plan.
How Do You Add Poptin to WordPress?
You add Poptin to WordPress by installing and activating the official Poptin plugin, creating or connecting your account and publishing a campaign for the correct website domain.
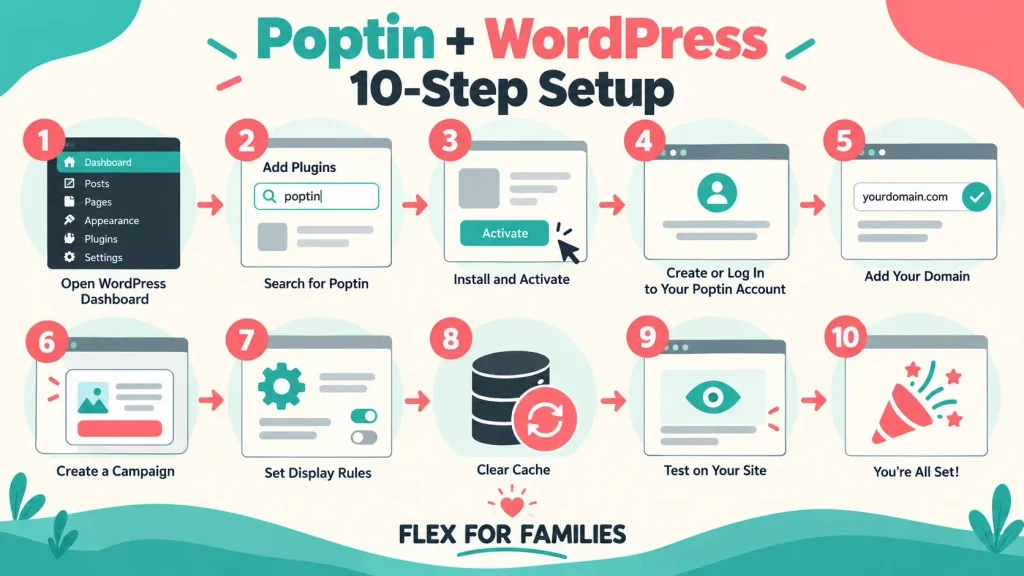
The basic process is:
- Sign in to WordPress.
- Open the plugin installer.
- Find the official Poptin plugin.
- Install and activate it.
- Create or connect your Poptin account.
- Confirm the website domain.
- Create or select a campaign.
- Activate the campaign.
- Clear your website cache.
- Test the complete journey.
The official Poptin plugin listing confirms that the normal WordPress setup involves installing and activating the plugin before creating an account through its signup screen. Published popups can then appear on the connected website.
What Does the Poptin WordPress Plugin Do?
The plugin connects your WordPress website with the Poptin platform.
Once that connection is active, Poptin can:
- Display published popups on your website.
- Apply the triggers and targeting rules you selected.
- Record popup views and conversions.
- Send submitted details through your configured integrations.
- Display embedded forms through a shortcode.
Most of the campaign work still happens inside Poptin. You use its editor to build the popup, write the copy, add the form and decide when the campaign appears.
The WordPress plugin provides the connection that allows the finished campaign to work on your website.

What You Need Before Installing Poptin
Prepare these details first:
- WordPress administrator access.
- Permission to install plugins.
- A live website domain.
- An email address for your Poptin account.
- Access to your WordPress cache settings.
- A private browser window for testing.
You do not need a finished popup before installing the plugin. You can create the account first and build the campaign afterwards.
WordPress.org and WordPress.com Are Different
This tutorial is primarily for self-hosted WordPress websites.
If your website uses WordPress.com, your plan must support third-party plugins. If the Plugins menu is not available, check the features included with your current WordPress.com plan.
The installation process may also look slightly different on managed hosting dashboards, but the official plugin remains the normal route.
Step 1: Sign In to Your WordPress Dashboard
Open your WordPress administration area.
The normal address is:
yourdomain.com/wp-admin
Sign in with an account that can install and activate plugins.
If you cannot see the Plugins menu, your user account may not have administrator permissions. Contact the website owner or hosting administrator before continuing.
Do not share administrator credentials with someone simply because they offer to install the plugin. WordPress administrator access provides control over the website.
Step 2: Open the WordPress Plugin Installer
From the left-hand WordPress menu:
- Select Plugins.
- Select Add New Plugin.
- Find the plugin search box.
The menu may say Add New on some versions of WordPress. Both routes open the plugin directory.
The WordPress plugin directory lets you install the official plugin without downloading files or using FTP.
Step 3: Find the Official Poptin Plugin
Search for:
Poptin
Look for the plugin published by Poptin.
Its current directory title is:
Poptin – Email Marketing Automation, Newsletter & Exit Pop Ups, Email Popups
The title may change as the platform adds features. The publisher is the more important check.
Open the plugin details if you are uncertain. Confirm that the listing links to Poptin and shows recent compatibility information.
This prevents you from installing a different popup plugin with a similar name.
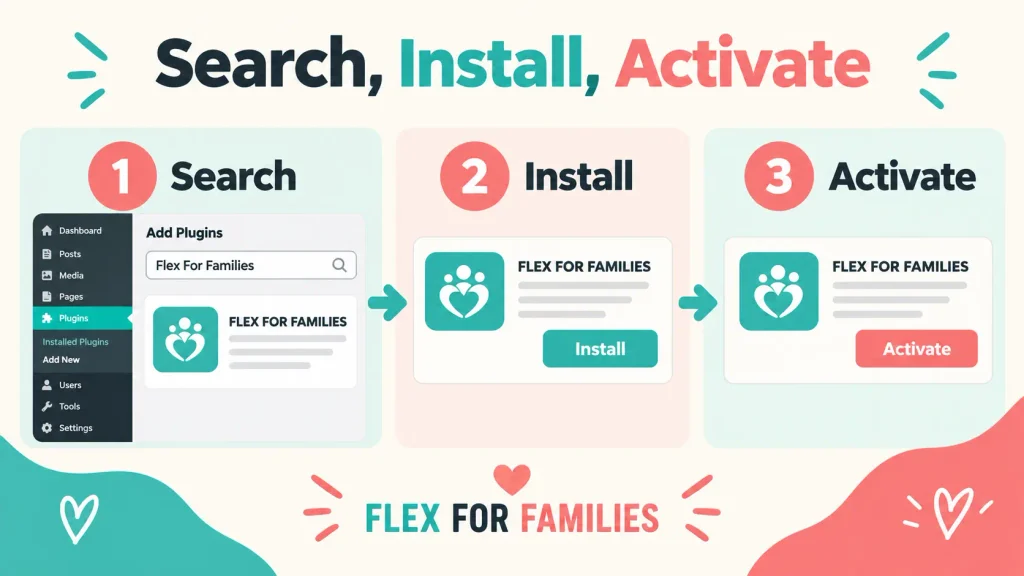
Step 4: Install and Activate the Plugin
Select Install Now.
WordPress will download the plugin and add its files to your website. Once the installation finishes, select Activate.
These actions do different jobs:
- Installing places the plugin on the website.
- Activating allows the plugin to run.
Poptin will not connect to the website while the plugin remains inactive.
You do not normally need to edit functions.php, open the theme editor or paste code into the website header.
Step 5: Open Poptin Inside WordPress
After activation, open the Poptin option in the WordPress dashboard.
The plugin will give you a route to create an account or sign in.
I created my Poptin account through the plugin when I installed it on Flex For Families. That kept the initial setup inside WordPress and avoided the need to add the installation code manually.
The current plugin also allows users to access Poptin features from the WordPress dashboard. The exact appearance may change as the plugin is updated.
Step 6: Create or Connect Your Poptin Account
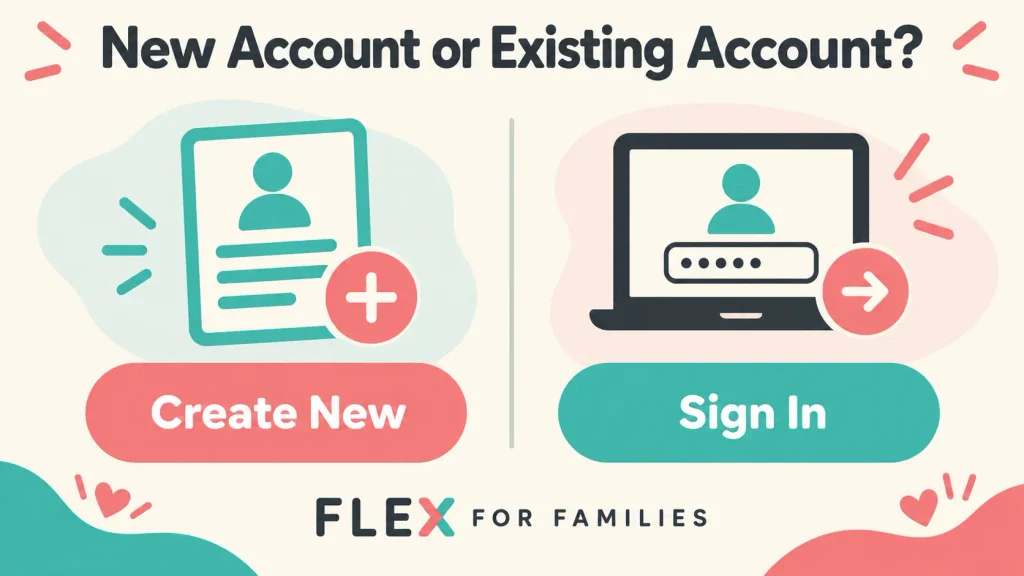
If You Are New to Poptin
Follow the signup route inside the plugin.
You will need to:
- Enter your account details.
- Create your password if requested.
- Confirm the website information.
- Continue into the Poptin dashboard.
Poptin offers a free account, so you can install the plugin and test a first campaign before deciding whether a paid plan is necessary.
If You Already Have a Poptin Account
Select the login option and use the account that contains your campaigns.
Do not create a second account by accident. If you connect WordPress to a new empty account, the campaigns in your original account will not automatically appear there.
After signing in, confirm that you can see the expected domain and campaigns.
Step 7: Confirm the Correct Website Domain
Check that the website shown inside Poptin matches your live WordPress domain.
Review:
- The full domain spelling.
- The HTTPS version of the address.
- Whether the website uses
www. - Whether a staging domain was added instead of the live domain.
- Which domain the campaign is assigned to.
A campaign can be designed correctly and remain invisible if it belongs to the wrong domain.
If you recently moved the website from a staging address, confirm that the live domain is now connected before troubleshooting the popup design.
Step 8: Create or Select Your Popup
Once WordPress and Poptin are connected, you need a campaign to display.
You can create a popup inside Poptin by:
- Choosing a popup format.
- Selecting a template.
- Adding the offer and copy.
- Editing the form fields.
- Connecting the email platform.
- Choosing the trigger and targeting rules.
My detailed guide explains how to create a popup with Poptin step by step.
If this is your first complete campaign, use the broader guide to using Poptin on your website.
The WordPress plugin only creates the website connection. It does not create or activate a popup automatically.
Step 9: Activate the Campaign
Check the campaign status inside Poptin.
Confirm that:
- The campaign is active.
- It is assigned to the correct domain.
- The test page is included in the targeting.
- Your device is allowed to see it.
- At least one trigger is active.
- The display frequency allows another view.
My main Flex For Families campaign uses exit intent or 20% scroll. The smaller bottom-corner campaign appears after a visitor reaches 50% scroll.
Those campaigns will not appear immediately when the page opens because their triggers require a specific visitor action.
Do not mistake a trigger delay for an installation failure.
Step 10: Clear the WordPress Cache
Caching can delay a new plugin connection or campaign change.
Clear the relevant caches after installing Poptin or changing a campaign:
- Clear the WordPress caching plugin.
- Clear any hosting-level cache.
- Clear the CDN cache if you use one.
- Open a private browser window.
- Test the campaign again.
The Poptin plugin changelog records compatibility work for caching tools including WP Rocket, WP Fastest Cache, LiteSpeed Cache, Autoptimize and Hummingbird. The exact settings can still vary between websites.
Do not disable every performance feature permanently. First clear the cache and test the specific page.
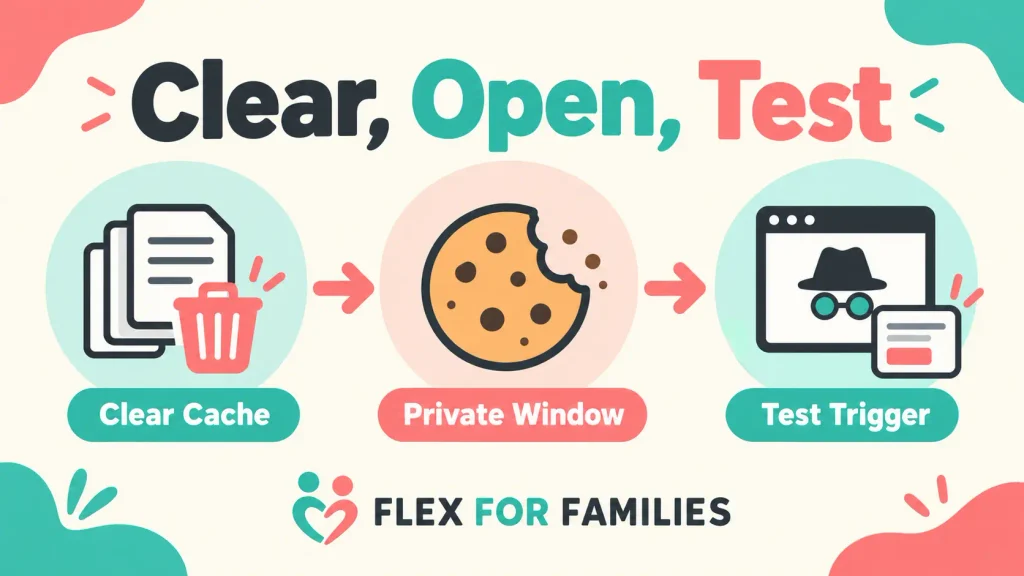
Step 11: Test the Popup on Your Live Website
Open a private or incognito browser window.
This reduces the chance that an earlier visit, closed popup or frequency cookie will affect the test.
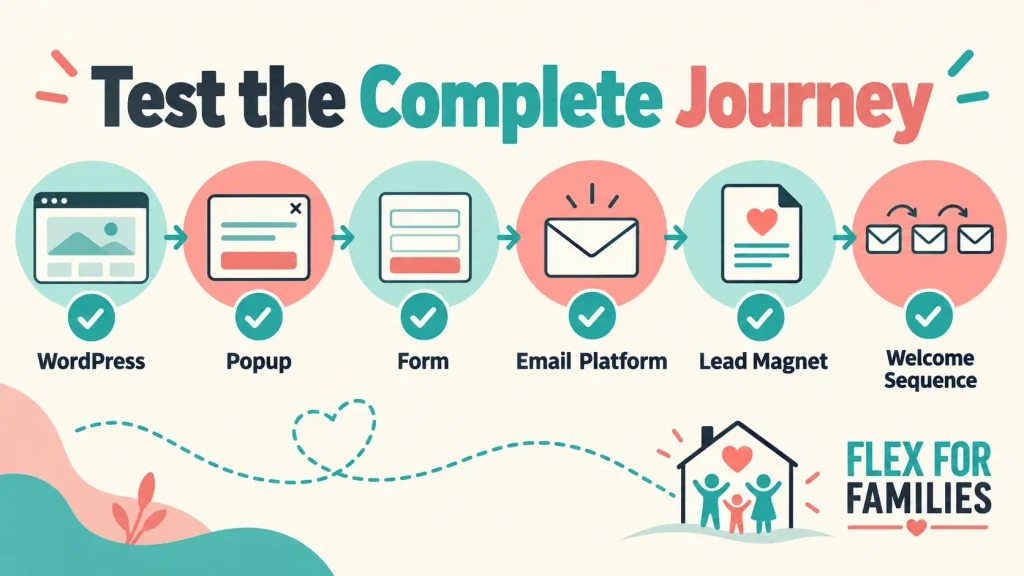
Complete this sequence:
- Visit a page included in the targeting rules.
- Activate the trigger naturally.
- Check the desktop design.
- Repeat the test on a phone.
- Enter a fresh email address.
- Confirm that Poptin records the conversion.
- Confirm that the subscriber reaches your email platform.
- Check the correct form, list or tag.
- Open the lead-magnet email.
- Confirm that the welcome sequence starts.
When I tested the Flex For Families setup, the Poptin and WordPress connection worked. The subscriber also reached Kit.
However, the welcome sequence did not start until I connected the correct Kit form to the Starter Kit automation.
That was not a WordPress plugin problem. It was a missing step further along the subscriber journey.
How to Add an Embedded Poptin Form to WordPress
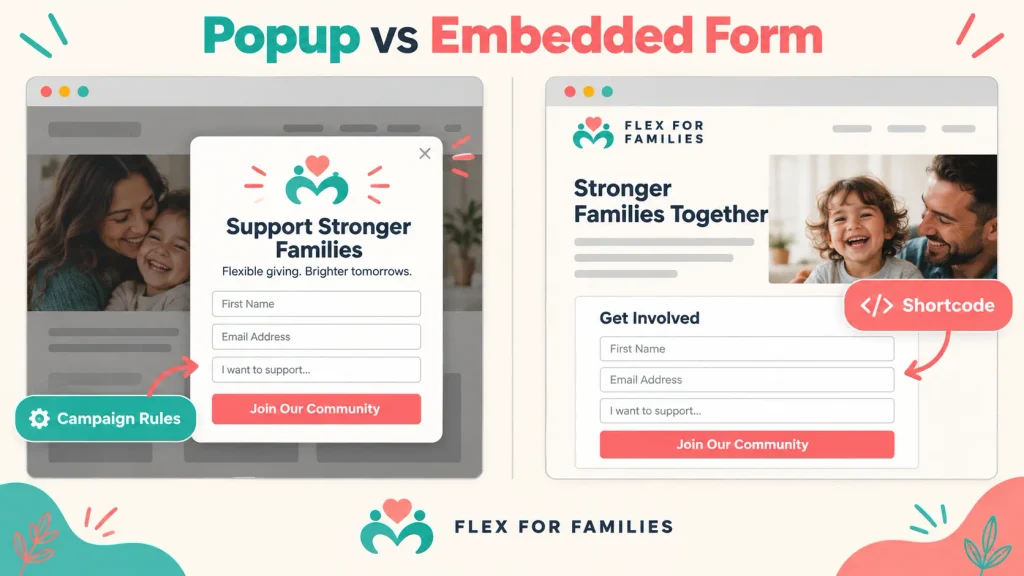
Popups and embedded forms use the WordPress connection differently.
A published popup can appear automatically when its display rules are met.
An embedded form needs to be placed inside the page or post.
The official plugin instructions confirm that a Poptin form requires its shortcode.
The basic process is:
- Create and publish the form inside Poptin.
- Copy the form shortcode.
- Edit the WordPress page or post.
- Add a Shortcode block.
- Paste the Poptin shortcode.
- Update or publish the page.
- Test the form on the live page.
Do not paste the shortcode into a standard paragraph block. Use the dedicated Shortcode block or the equivalent element in your page builder.
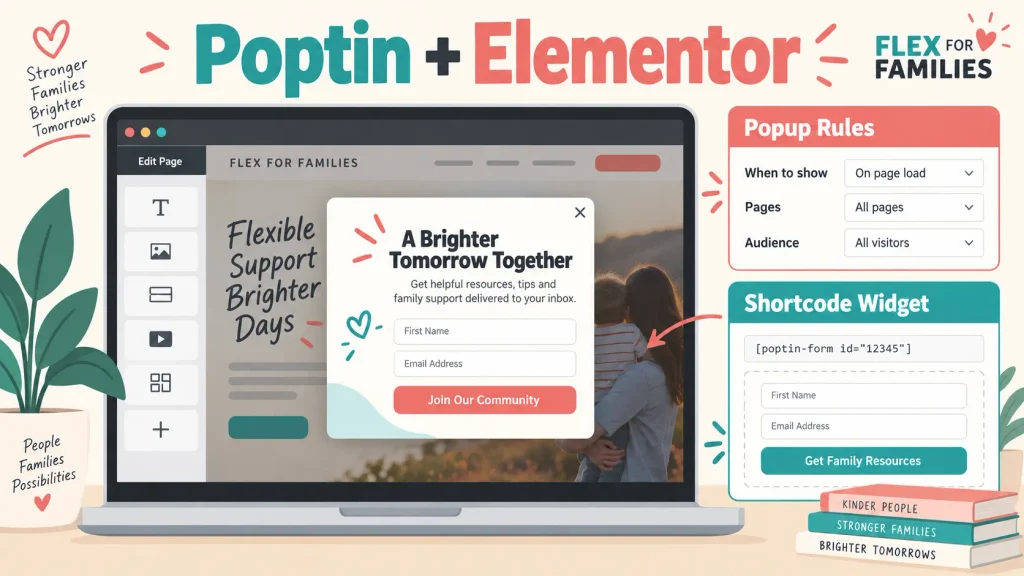
Does Poptin Work With Elementor?
Yes. The official plugin listing includes Elementor among the supported WordPress builders.
A normal popup works at website level. You do not usually need to insert it into each Elementor page.
Poptin reads the campaign’s page targeting and displays the popup when the selected trigger activates.
For an embedded form in Elementor:
- Copy the Poptin form shortcode.
- Edit the page with Elementor.
- Add the Shortcode widget.
- Paste the shortcode.
- Update the page.
- Test the live form.
Flex For Families doesn’t use Elementor Pro. My Poptin popups work through the WordPress plugin rather than being inserted manually into each page.
Do You Need the Plugin and the Poptin Installation Code?
No. The normal WordPress setup uses the official plugin instead of the manual installation code.
Avoid adding the same Poptin connection twice unless its support team specifically asks you to do so.
For example, do not install the plugin and then paste the Poptin script into your theme header simply because the popup has not appeared immediately.
The problem may be caused by the campaign status, trigger, targeting, frequency rule or cache rather than the installation.
Using one standard installation route makes troubleshooting easier.
Why Is Poptin Not Showing on WordPress?
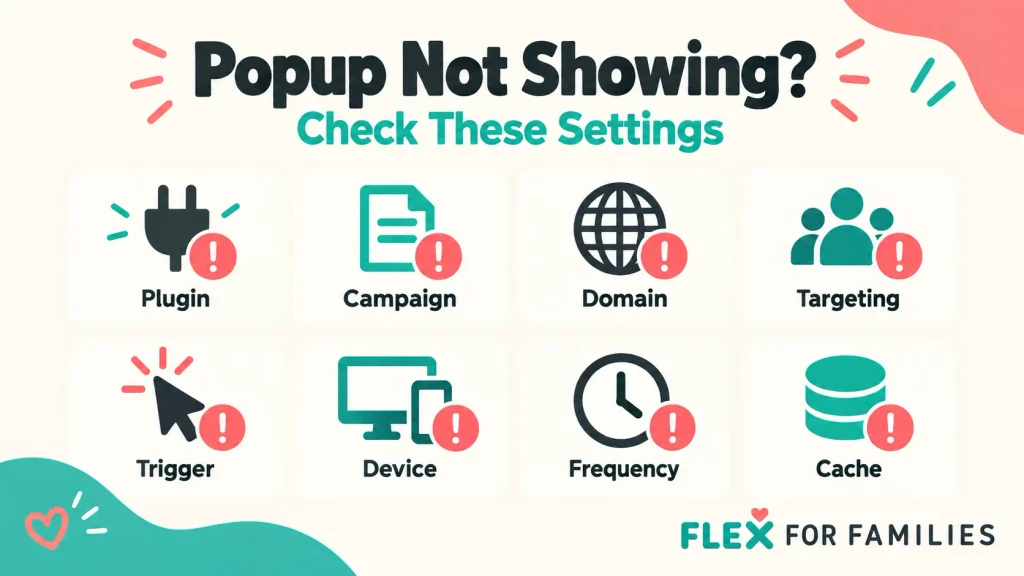
If the popup does not appear, check these issues in order.
1. The Plugin Is Not Active
Open the WordPress Plugins page and confirm that Poptin shows as active.
2. The Wrong Account Is Connected
Check that the connected account contains the expected website and campaign.
3. The Domain Does Not Match
Confirm that the live domain, HTTPS setting and www format are correct.
4. The Campaign Is Inactive
Publishing the design and activating the campaign may be separate actions.
5. The Page Is Excluded
Review the page-targeting rules. Test on a page that should definitely include the campaign.
6. The Trigger Has Not Activated
If the popup uses 50% scroll, you must scroll halfway down the page. If it uses exit intent, move the desktop cursor towards the browser controls.
7. The Device Is Excluded
A desktop-only campaign will not appear during a mobile test.
8. Display Frequency Is Blocking Another View
Poptin may remember that you have already seen, closed or converted through the popup.
Test with a private browser and fresh session.
9. A Cache Is Serving an Older Version
Clear the WordPress, hosting and CDN caches.
10. A Browser Extension Is Blocking the Script
Ad blockers and privacy extensions can interfere with popup scripts. Test in another clean browser before changing the website.
11. Another Plugin Is Creating a Conflict
Update WordPress and the relevant plugins first. If the problem continues, contact support before disabling essential security, ecommerce or performance plugins on a live website.
12. The Account Limit Has Been Reached
Check the current Poptin account usage and plan allowance.
The later troubleshooting guide will explore each of these checks in more detail.
How to Check for a WordPress Plugin Conflict Safely
Do not start by deactivating every plugin on a live website.
Use this safer order:
- Back up the website.
- Update WordPress and Poptin.
- Clear all relevant caches.
- Test in a private window.
- Disable browser extensions for the test.
- Check whether the popup works on another device or connection.
- Use a staging website for plugin testing where possible.
- Contact Poptin or your hosting support if the cause remains unclear.
If you test plugin deactivation, change one item at a time. Record the result and reactivate it before moving to the next test.
This approach reduces the risk of creating a second problem while investigating the first.
Does Installing Poptin Slow Down WordPress?
Poptin adds the connection and campaign resources needed to display your popup. The practical effect depends on the campaign design, images, scripts and number of active campaigns.
Reduce unnecessary load by:
- Compressing popup images.
- Avoiding large videos and decorative animations.
- Running one relevant campaign instead of several competing popups.
- Removing unused popup plugins.
- Testing mobile page speed before and after installation.
- Delaying the popup where the offer does not need to appear immediately.
The plugin installation alone does not guarantee a fast or slow result. Test the finished campaign on your own website.
Is the Poptin WordPress Setup Beginner-Friendly?
Yes. Installing Poptin through the official WordPress plugin is a beginner-friendly way to connect the platform without manually adding code.
The installation itself only takes a few steps. Most problems arise later from inactive campaigns, targeting rules, caching or incomplete email automations.
Work through the setup in order:
- Install and activate the plugin.
- Create or connect the account.
- Confirm the domain.
- Activate one campaign.
- Clear the cache.
- Test the complete subscriber journey.
For a broader look at the platform, read What Is Poptin and How Does It Work? or my full Poptin Review 2026.
If you are planning your first blog and email funnel, the free Parent Blogging Starter Kit provides practical resources for choosing a niche, planning content and working around family life.
Frequently Asked Questions
Is There a Poptin Plugin for WordPress?
Yes. Poptin provides an official plugin through the WordPress plugin directory. It connects your WordPress website to Poptin so published campaigns can appear without manually adding the installation script. Confirm that Poptin is listed as the plugin publisher before installing it.
Can I Add Poptin to WordPress Without Coding?
Yes. Install and activate the official Poptin plugin, then create or connect your account through WordPress. You do not normally need to edit your theme, use FTP or paste JavaScript into the website header when using the plugin installation route.
Is the Poptin WordPress Plugin Free?
The official WordPress plugin is free to install. Poptin also offers a free account with usage limits. Check the current visitor, domain, contact and feature allowances before publishing because plan limits can change.
Why Is My Poptin Popup Not Showing on WordPress?
Confirm that the plugin and campaign are active, the correct account and domain are connected and the test page, device and visitor meet the targeting rules. Then activate the trigger naturally, clear every relevant cache and test in a private browser window.
Does Poptin Work With Elementor?
Yes. Standard Poptin popups can work across an Elementor website through the WordPress plugin and campaign rules. An embedded Poptin form can be placed inside an Elementor page by copying its shortcode into an Elementor Shortcode widget.
Do I Need to Add the Poptin Script Manually?
No. The official WordPress plugin provides the normal no-code connection. Avoid installing the plugin and adding the manual script as well unless Poptin support specifically recommends it for your setup. A duplicate installation can make troubleshooting more difficult.
How Do I Add a Poptin Form to a WordPress Page?
Create and publish the embedded form inside Poptin, copy its shortcode and add that shortcode to a WordPress Shortcode block or compatible page-builder widget. Update the page and test the form on the live website. Popups do not normally need this shortcode.
Let’s Chat
Have you installed Poptin through WordPress yet?
Did the plugin connect straight away, or are you still trying to make your first campaign appear?
Leave a comment below. Your question may help another blogger solve the same problem.