
The first steps after setting up a blog are to publish a few essential pages, pick one reader to write for, and write a first post that answers that reader’s question. After that, connect basic email and tracking and set a small weekly rhythm. Each task fits in a 30-minute session, so you can work through them in order.
What Should I Do First After Setting Up My Blog?
Do the work that makes the blog complete before the work that makes it look polished. A new blog needs a few pages, a clear picture of one reader, and a first post. Colors, fonts, a logo and a social media account can wait.
Here is the order this article follows:
- Publish the essential pages.
- Decide who you are writing for.
- Write and publish your first post.
- Set up a simple email signup and basic tracking.
- Set a weekly rhythm you can keep.
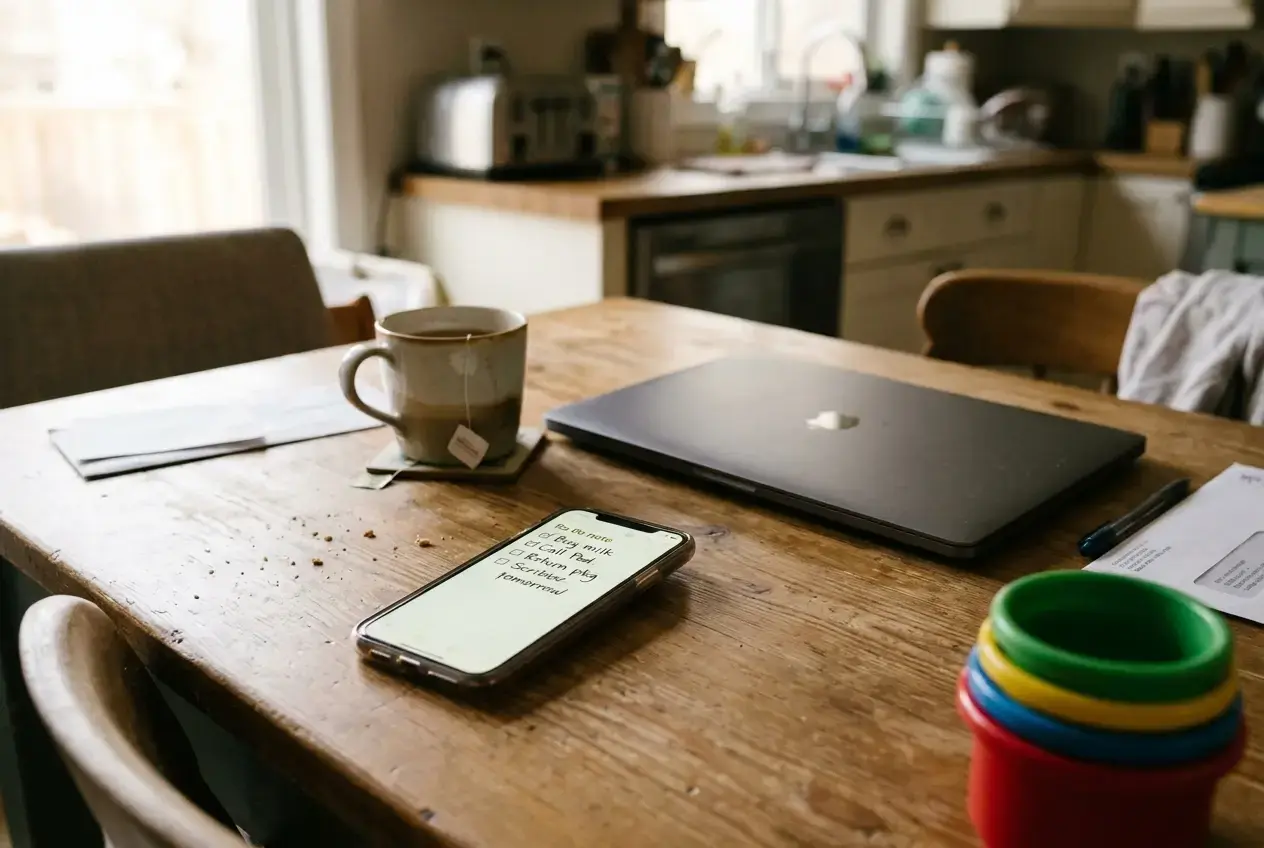
Most of these can be split into sessions of 30 minutes or less, which matters when your day runs on nap times, school pickups and whatever is left of the evening. A task you can stop halfway through and restart without confusion is worth more than one that needs a free afternoon. A simple habit helps: before you close the laptop, write the very next action in a note on your phone, such as “write the About page opening paragraph.” The next session starts at once instead of with ten minutes of deciding.
If your blog is built on Wealthy Affiliate, the post on what to do after creating your Wealthy Affiliate website covers similar ground using the site builder’s own screens. The order below works on any platform.
Which Essential Pages Does a New Blog Actually Need?
A new blog needs four pages: About, Contact, Privacy Policy, and an affiliate disclosure if you plan to use affiliate links. A separate Home page and a menu that links to these pages complete the basics. Everything else can be added later.
About. Readers use this page to decide whether your blog is for them, so write it about them. Say who the blog helps, what they will find here, and why it is worth their time. You choose how much of your family to include. Names and photos of your children are never required, and many parent bloggers leave them out on purpose.
Contact. A short page with an email address or a simple contact form is enough. Use an address you are happy to give out publicly. A free address made just for the blog keeps it separate from your personal inbox.
Privacy Policy. If you collect email addresses or use analytics, you will need one, and many readers and advertising or affiliate programs expect to see it. Free policy generators exist, and your blogging platform may include a template. Requirements differ by country, so check the rules where you live.
Affiliate disclosure. If you earn a commission when someone buys through your links, tell readers plainly, and place the notice where they will see it, near the top of any post with affiliate links. Many countries require disclosure, so check the rules for yours. A sentence such as “Some links on this site are affiliate links, which means I may earn a commission at no extra cost to you” is clear and fair.
Plan two sessions for this. The first covers About and Contact. The second covers the privacy policy, the disclosure and the menu. Neither needs to be perfect, and you can edit all four pages once you know your readers better.
How Do I Decide Who I Am Writing For?
Decide by describing one specific person and writing to her or him. A blog written for “all parents” ends up vague, while a blog written for one reader with one problem is easier to write and easier to recognize as useful.
This is a short exercise that fits in a single session. Answer these questions in a few sentences each:
- Where is this person in their life right now: expecting, home with a baby, juggling school-age children, or something else?
- What are they trying to get done that they keep putting off?
- What have they already tried, and what got in the way?
- What do they type into a search box when they are stuck?
You might end up with something like: “A parent with a toddler who wants to start a blog but does not know which task comes first and only has the length of a nap to work in.” That one sentence tells you which topics to cover, how long your posts should be, and what to leave out.
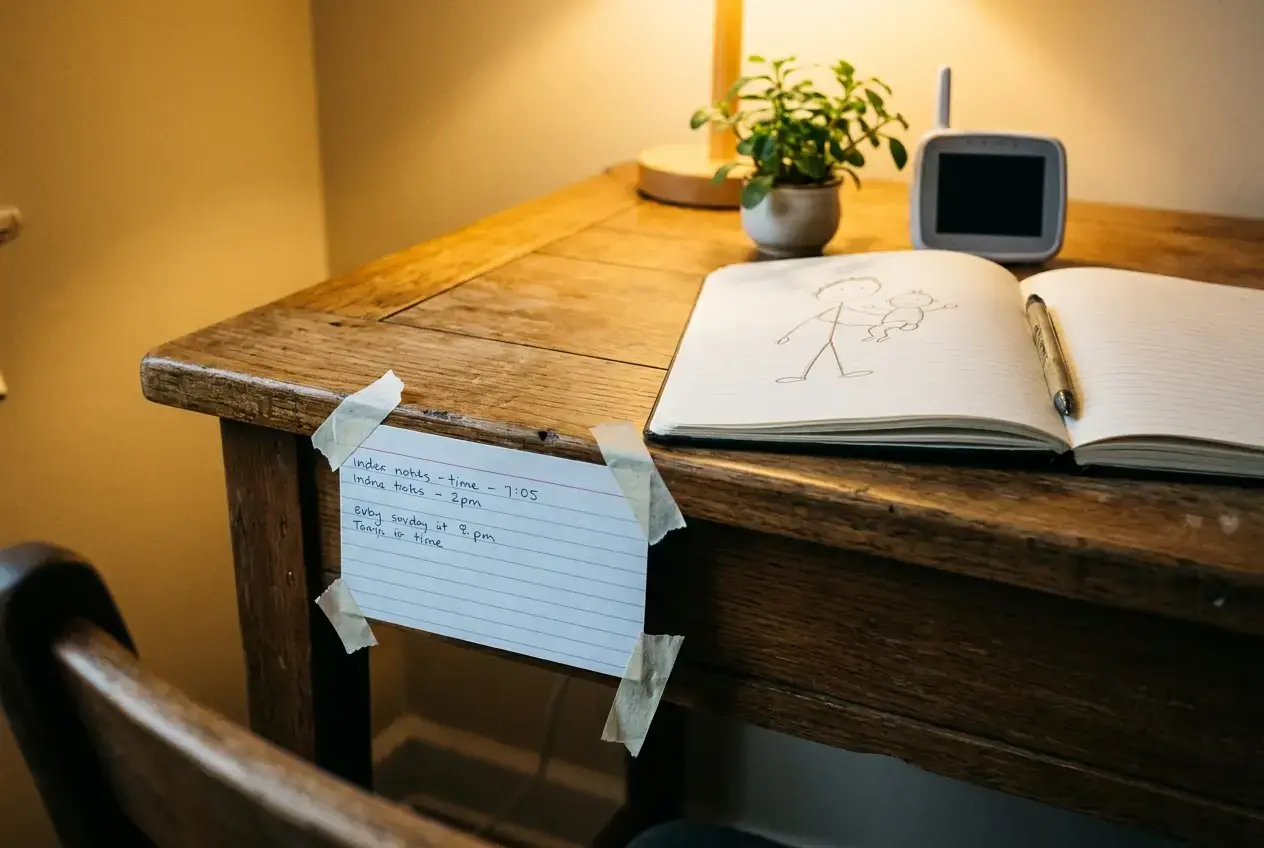
Keep the description where you will see it, pinned in a note or taped by your desk. When you are unsure whether a post idea belongs on the blog, ask whether this person would care. If the answer is no, the idea can wait. This also makes the blog easier to sustain, because you will not run out of ideas when you have a reader whose questions you can keep answering.
What Should My First Blog Post Be About?
Your first post should answer one question your reader is actually asking, in a practical format such as a how-to, a short guide or a list. It should not be a welcome message. A “hello and welcome” post gives a first-time visitor nothing to use, and a search engine has nothing to match it against.
To find the question, go back to your one-reader description and pick the most specific problem on it. “How to start a morning routine” is broad. “A 20-minute morning routine for a household with a baby and a kindergartener” is specific enough to write well and to rank for a phrase people really search.
Break the post across three sessions:

- Outline. Write the question as the title, list four to six points that answer it, and put them in a sensible order. This is a first session on its own, and it is a good one to do when your energy is low.
- Draft. Write straight through without editing. A few hundred words up to about a thousand is plenty for a first post, as long as it answers the question completely.
- Edit and publish. Read it aloud, cut anything that repeats, add a clear title and a short description, and publish. Resist waiting for it to feel finished, because it will not.
After it is live, add a link from your Home page or menu so visitors can find it. Then write the title of your second post in your phone note so the next session starts with a plan.
Do I Need Email and Tracking Set Up Right Away?
Yes, but only the simplest version of each. Start collecting email addresses and counting visits from the first week, because neither can be recovered for the days before you set it up. Neither one needs to be sophisticated at this point.
Email. Create an account with an email service, many of which have free plans for small lists, and add one signup form to your blog. Then write a single welcome message that tells new subscribers what to expect and links to your first post. That is enough. You do not need a newsletter schedule, an automated series or a freebie yet. Once you have a few readers, ideas such as those in best lead magnets for parent bloggers give people a reason to sign up. Before you send your first campaign, it is worth reading about common email marketing mistakes new parent bloggers make, so you can avoid them from the start.
Tracking. Two free tools cover the basics. Google Search Console shows whether your pages are indexed by Google and which searches bring people to them. An analytics tool, such as Google Analytics, shows how many people visit and which pages they read. Each takes one session to connect, mostly by verifying that the site is yours.
Then look at the numbers once a week, not once a day. In the first weeks, traffic is usually small, and a low number says little about whether the blog will work. The point of tracking at this stage is to have a record that builds, so that in a few months you can see which topics get readers and which do not.
How Do I Build a Posting Rhythm Around My Family?
Build it around the parts of your day that stay fixed, then choose a number of sessions you can keep during a normal week, even a tiring one. Two or three sessions of 30 minutes each is a workable start. A smaller plan you keep beats a larger one you drop after ten days.
One way to arrange a week:

- Session one: write or draft. This is your longest and most focused block, so give it your best time of day.
- Session two: edit and publish, or finish whatever is half done.
- Session three: everything else, such as updating a page, adding images, checking Search Console, or planning the next two post titles.
Choose the slot by looking at your day as it already is. A nap, the wait in the school pickup line, the first half hour after the kids are in bed: pick the one that is most dependable and protect it. If you want more ideas on fitting work around children without burning out, the post on balancing a side hustle and parenting goes into this in more detail.
Some weeks will fall apart because of illness, a school holiday or a bad night’s sleep. When that happens, skip the week without guilt and return to the next scheduled session. A rhythm is a plan you restart, so missing one week does not end it. After a month, look at how many sessions you actually completed and adjust the plan to match that number.
Final Thoughts
The days after launch go better when each session has one clear job. Work through the pages, the reader, the first post, the basic email and tracking, and the weekly rhythm, and the blog will have a base to grow from. The posts that follow are easier to write once those pieces are in place.
Wealthy Affiliate is what worked for me. If you want step by step guidance and a community cheering you on while you take these steps at your own pace, take a look at it, and know there is no rush. Here’s my Wealthy Affiliate review, so you can take a proper look.
Let’s Chat
Which of these five steps feels hardest to start, and what is the best 30-minute window in your day for it? Share your answer in the comments, and let’s see if we can find a way to make that step fit.