
Starting an email list is easier to understand when you follow what happens to one reader.
They find something useful on your blog. They choose to subscribe. They confirm their address, receive what you promised and know what to expect next.
That is the first system to build. You can add more to it later, once the basic journey works.
I use Kit for my own email list, so I will use it for the practical examples here. The walkthrough is a suggested starting setup, rather than a description of every setting in my account or a claim about my subscriber results.
Quick Answer: How Do You Start An Email List?
Choose a clear reason for readers to subscribe, create a signup form, explain what emails they will receive, and connect the form to confirmation and a welcome message. If you promise a resource, make sure they can actually access it.
Then test the entire journey using an address you control before promoting the form.
You do not need a freebie to start. A useful newsletter can be the offer. You also do not need a large audience, although you will need relevant visitors to give the signup an opportunity to work.
For this guide, we will use a fictional newsletter called The Small-Step Blogging Note, aimed at parents building a blog in short working sessions.
Decide What Readers Are Signing Up For
“Join my newsletter” tells someone what to do, but not why they might want to do it.
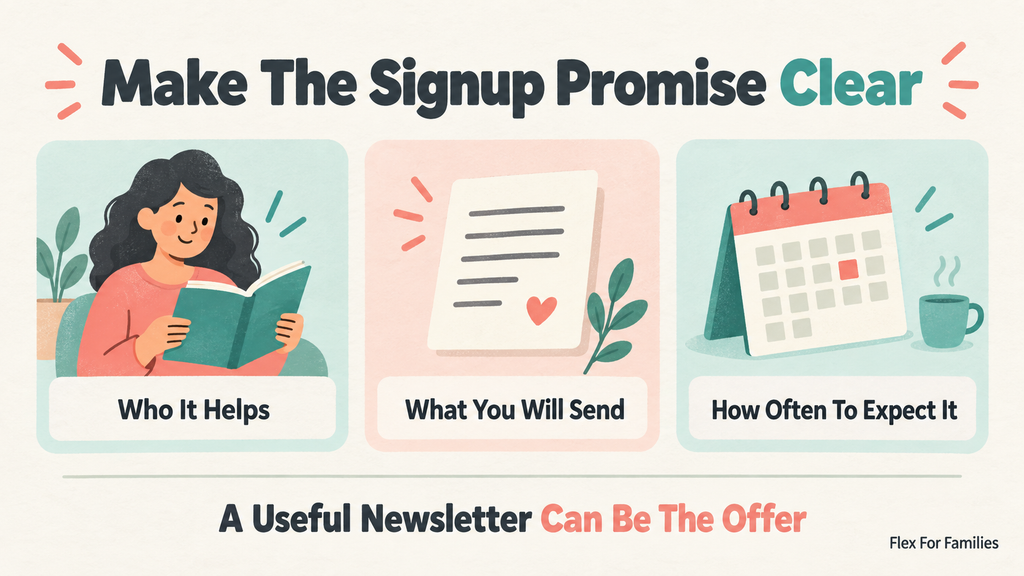
Start by completing this sentence:
I help this reader take this useful step, and my emails will give them this kind of help.
For our example, the promise is one practical blogging task every fortnight. The reader knows the subject, the likely time commitment and how often to expect an email.
Choose something you can sustain. A fortnightly note is a reasonable starting suggestion if weekly writing would be difficult; it is not a rule or a proven best frequency.
If you also want to offer a download, connect it to the same subject. A small blogging planner fits this example better than an unrelated prize draw. My guide to growing an email list with authentic freebies explores that choice in more detail.
For the walkthrough below, the newsletter is the main offer. An optional planner is available separately, so readers do not have to subscribe just to obtain it.
Understand The Signup Journey Before Building It
Here is the route we are aiming for:
Signup form → check-your-inbox message → confirmation email → confirmation page → welcome email → regular newsletter.
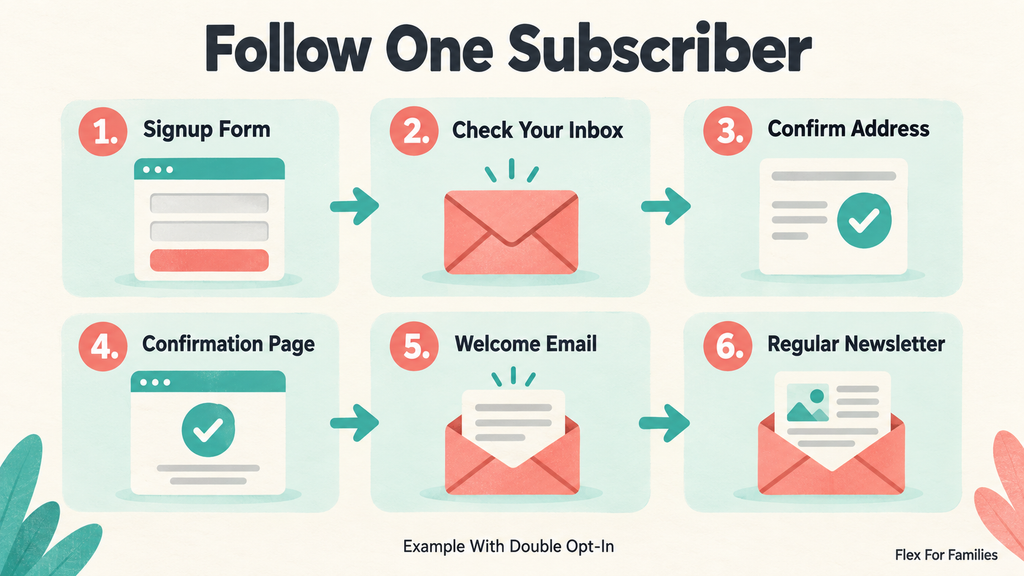
Each part has a different job:
| Part | What The Reader Needs |
|---|---|
| Signup Form | A clear description of the emails they are choosing |
| On-Screen Success Message | Instructions for the next step |
| Confirmation Email | A working link to confirm their address |
| Confirmation Page | Reassurance that confirmation worked |
| Welcome Email | An introduction and a useful first action |
| Regular Newsletter | The ongoing help the form promised |
If you add a resource, decide where the download lives and link to it clearly. Avoid making readers search through several emails to find the thing you offered.
Step 1: Prepare Your Kit Account For Sending
Before designing the form, set up a recognisable sender name and an email address you monitor. Replies should reach you.
Kit’s account setup checklist covers adding and verifying a sending address, providing a mailing address and setting your time zone. Use an address on your own domain and follow Kit’s current sending-domain authentication guidance during setup.
Address verification and domain authentication are different tasks. Follow the instructions for both where required; do not assume clicking an email verification link completes all the domain work.
Check the features available on your current plan before designing an elaborate automation. This guide does not depend on a quoted subscriber allowance or price that may change.
Step 2: Create One Clear Signup Form
Use a Kit form for a signup embedded in an article, or a landing page when you want a separate destination to share. Start with one main offer so you can test it properly.
Give the form a descriptive internal name, such as “Small-Step Note – Blog Form”. That will be easier to recognise later than several forms named “Untitled”.
For our fictional newsletter, the reader-facing copy could be:
Build Your Blog One Small Step At A Time
Join The Small-Step Blogging Note for one practical blogging task every fortnight, written for parents working in short sessions.
Enter your email address below to subscribe. You can unsubscribe at any time.
Button: Subscribe To The Fortnightly Note
Place a link to your privacy notice beside the form. If your emails will include promotions or affiliate recommendations, explain that clearly rather than promising a purely non-commercial series and changing the arrangement later.
Only ask for information you have a reason to use. An email address may be enough for this simple offer; you do not need details about subscribers’ children or family circumstances.
Make Permission Clear
For a UK-facing beginner newsletter, a sensible starting approach is an explicit subscription choice, clear information about the sender and content, and an easy way to unsubscribe. Do not add people simply because they commented, contacted you or downloaded something unrelated.
The ICO explains that consent, where required for email marketing, must be freely given, specific, informed and unambiguous. Its guidance also covers exceptions and the right to opt out. Check the rules relevant to your audience rather than treating one form template as universal legal compliance. ICO Email Marketing Guidance
In this example, the form is specifically a newsletter signup. If you instead collect an address to deliver a standalone resource, do not assume that request also gives permission for ongoing marketing.
Step 3: Set Up Confirmation And Resource Delivery
Kit calls the message used to confirm a signup the confirmation email; older guidance may call it the incentive email. Double opt-in asks the reader to confirm their address after submitting the form.
For this walkthrough, keep confirmation enabled. In the form or landing page settings, open the confirmation email settings and customise the message. Kit documents this in its setup checklist.
Suggested on-screen message after the form is submitted:
Check Your Inbox To Finish Subscribing
Look for an email from The Small-Step Blogging Note and click the confirmation button. If you cannot see it, check your spam or promotions folder.
Suggested confirmation copy:
Subject: Confirm Your Small-Step Blogging Note Subscription
Thanks for signing up. Please click the button below to confirm that you would like the fortnightly blogging note.
Button: Confirm My Subscription
If you did not request this, you can ignore this email.
Keep Kit’s actual confirmation button and link when editing. A normal link to your homepage would not perform the same job.
Kit’s confirmation-email guidance describes directing the confirmation click to a URL or an uploaded download. If you use a resource, choose the correct file or destination and test it.
For our example, send the reader to a simple page confirming the subscription. An optional planner link can sit there too, with a clear explanation of what to do next.
Confirmation helps verify the address. It does not repair unclear consent wording on the original form.
Step 4: Write And Connect A Welcome Email
The confirmation email asks the reader to complete a step. The welcome email begins the relationship after that step has worked.
Keep it focused. Here is sample copy for the fictional newsletter:
Subject: Your First Small Blogging Step
Hello,
Welcome to The Small-Step Blogging Note. Every fortnight, I’ll share one practical task to help you keep moving with your blog around family life.
Start with this: write down one question your ideal reader needs help answering. You do not need to draft the whole article today. Just choose the question and the useful answer you want to give.
What part of blogging feels hardest to fit into your week? You can reply and let me know.
Thanks for being here.
Adapt the greeting and sign-off to your own voice. If you promised a resource, include a descriptive link to the real file or resource page. Keep the platform’s working unsubscribe link and required footer information.
Connect The Message To The Signup
Kit distinguishes automated Sequences from one-off Broadcasts. A welcome message can sit in a Sequence connected to your signup through a Visual Automation; regular newsletters can be sent as Broadcasts. A saved Sequence does not enrol people by itself. Kit’s Sequence Guide
Where your plan supports this setup, select the relevant form as the automation entry point and the welcome Sequence as its action. Publish the email, check its sending delay and schedule, and activate the automation. Then verify with a real test signup that the welcome arrives after confirmation, not before it or twice.
If the options differ in your account, check the current plan and help instructions before proceeding. The important outcome is one confirmed signup receiving the intended welcome, rather than a particular-looking diagram.
Step 5: Add The Form Where It Makes Sense
Choose a post that attracts the reader your newsletter is intended to help. Add the form after useful content, where the subscription feels like a relevant next step.
For our example, an article about planning a realistic blogging week would be a natural place to offer the fortnightly note.
Use Kit’s supplied embedding method or your supported WordPress integration. Preview the published page on a phone as well as a computer. Check that the fields, privacy link and button work without covering the article.
Start with one placement you can inspect. You can add others after the journey is working.
Step 6: Test The Whole Journey As A New Reader
A preview email only tests part of the system. Use an address you control that is not already subscribed, then submit the live form.
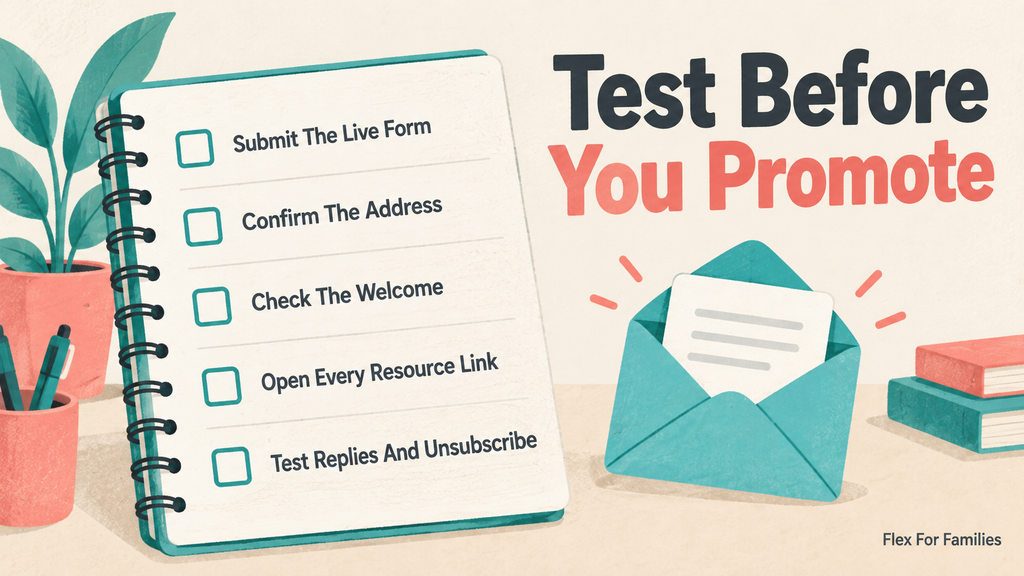
| Check | What To Look For |
|---|---|
| Submit The Form | The page gives the correct next instruction |
| Before Confirmation | The address is not treated as confirmed or sent the newsletter |
| Open The Confirmation Email | Sender and wording match the signup promise |
| Click The Confirmation Button | Confirmation succeeds and the intended page or file opens |
| Receive The Welcome | It arrives once, with working links and accurate expectations |
| Reply | The response reaches an inbox you monitor |
| Unsubscribe | The address stops receiving future marketing emails |
Also test any download in a private browser window. It should not require access to your personal storage account.
If something fails, follow the chain in order. A missing welcome could involve subscriber status, an inactive automation, a draft email or its sending schedule. Fix the step you can verify rather than rebuilding everything at once.
Do not bypass confirmation just to make the subscriber count look higher.
Step 7: Plan Your First Three Newsletters
For our fortnightly example, the first few notes could be:
| Main Idea | Reader’s Next Step | |
|---|---|---|
| First Note | Turn one reader question into an article outline | Write three helpful headings |
| Second Note | Make a draft easier to finish | Choose the smallest unfinished section |
| Third Note | Improve an existing article | Clarify one confusing explanation |
These are suggested topics, not a sequence I am claiming to run myself.
Each email can contain one useful explanation and one next step. You do not have to send every new post or fill the message with links.
Before sending a Broadcast, check the recipients, subject, links and scheduled time. Send a test to yourself and read it on your phone.
What To Measure When Your List Is Small
Begin with whether the system works, then look at whether people find the offer relevant.
Record form or landing-page visits where available, signups, confirmations, useful replies and clicks on the main link. Keep the definition of each number consistent.
For example, five confirmed subscribers from 100 visits to a signup page would be a 5% confirmed-signup rate. That is fictional arithmetic, not a target or an industry benchmark.
With only a few visitors, one signup can change a percentage sharply. Look for repeated patterns before drawing conclusions.
If nobody sees the form, adding more welcome emails will not solve that problem. If people submit but do not confirm, test delivery and the instructions. If subscribers reply with the same question, that may suggest a useful future email.
Common Questions
Do I Need A Freebie?
No. A clear, useful newsletter offer can stand on its own. A resource is optional and should fit the readers you want to keep helping.
Do I Need Several Lists For Different Downloads?
You do not need to design several audiences before launching one newsletter. Begin with a clear promise and organise additional interests when there is a practical reason. I use Kit for my own list, but this guide does not prescribe my account structure as the only approach.
Does Double Opt-In Guarantee Emails Reach The Inbox?
No. Confirmation is one part of the setup, not a delivery guarantee. Keep your sending setup sound, respect subscriber choices and investigate delivery problems when they appear.
Do I Own My Email Audience?
You are building a permission-based way to contact readers. That offers a different relationship from relying entirely on search or social distribution, but subscribers retain their choices and delivery still depends on services and inbox filtering.
What If I Miss An Email?
Resume with something useful and set a schedule you can maintain. Avoid promising daily or weekly messages if that does not fit your life.
Final Word
Your first email-list goal is a working journey that delivers what it promises.
Choose a clear offer, connect the form and confirmation, write a useful welcome and test everything as a new subscriber. Then give yourself a manageable routine for staying in touch.
You can improve the design and add more resources later. For now, one reader should be able to sign up, understand what happens next and receive the help they expected.
That is a worthwhile piece of your blog to get working – one small step at a time.
Let’s Chat
Have you started your email list, or are you still joining the pieces together?
Tell me which part feels least clear: the signup offer, confirmation, welcome email or deciding what to send next. Please leave out subscriber details or private account information.