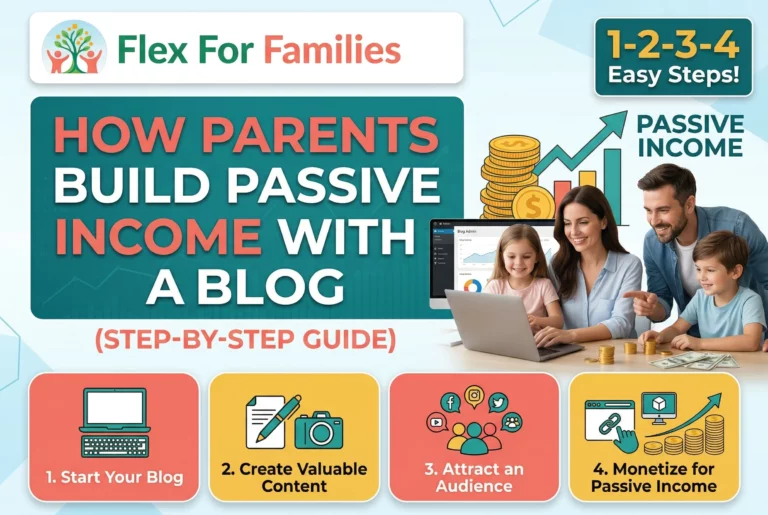
When you’re just starting a blog, it can feel like you’re shouting into the void. You’ve poured hours into writing posts, but the traffic just… isn’t showing up. I’ve been there (in fact, I am there right now).
That’s why I turned to Pinterest. Unlike social media, you don’t need a massive following to start getting eyes on your content.

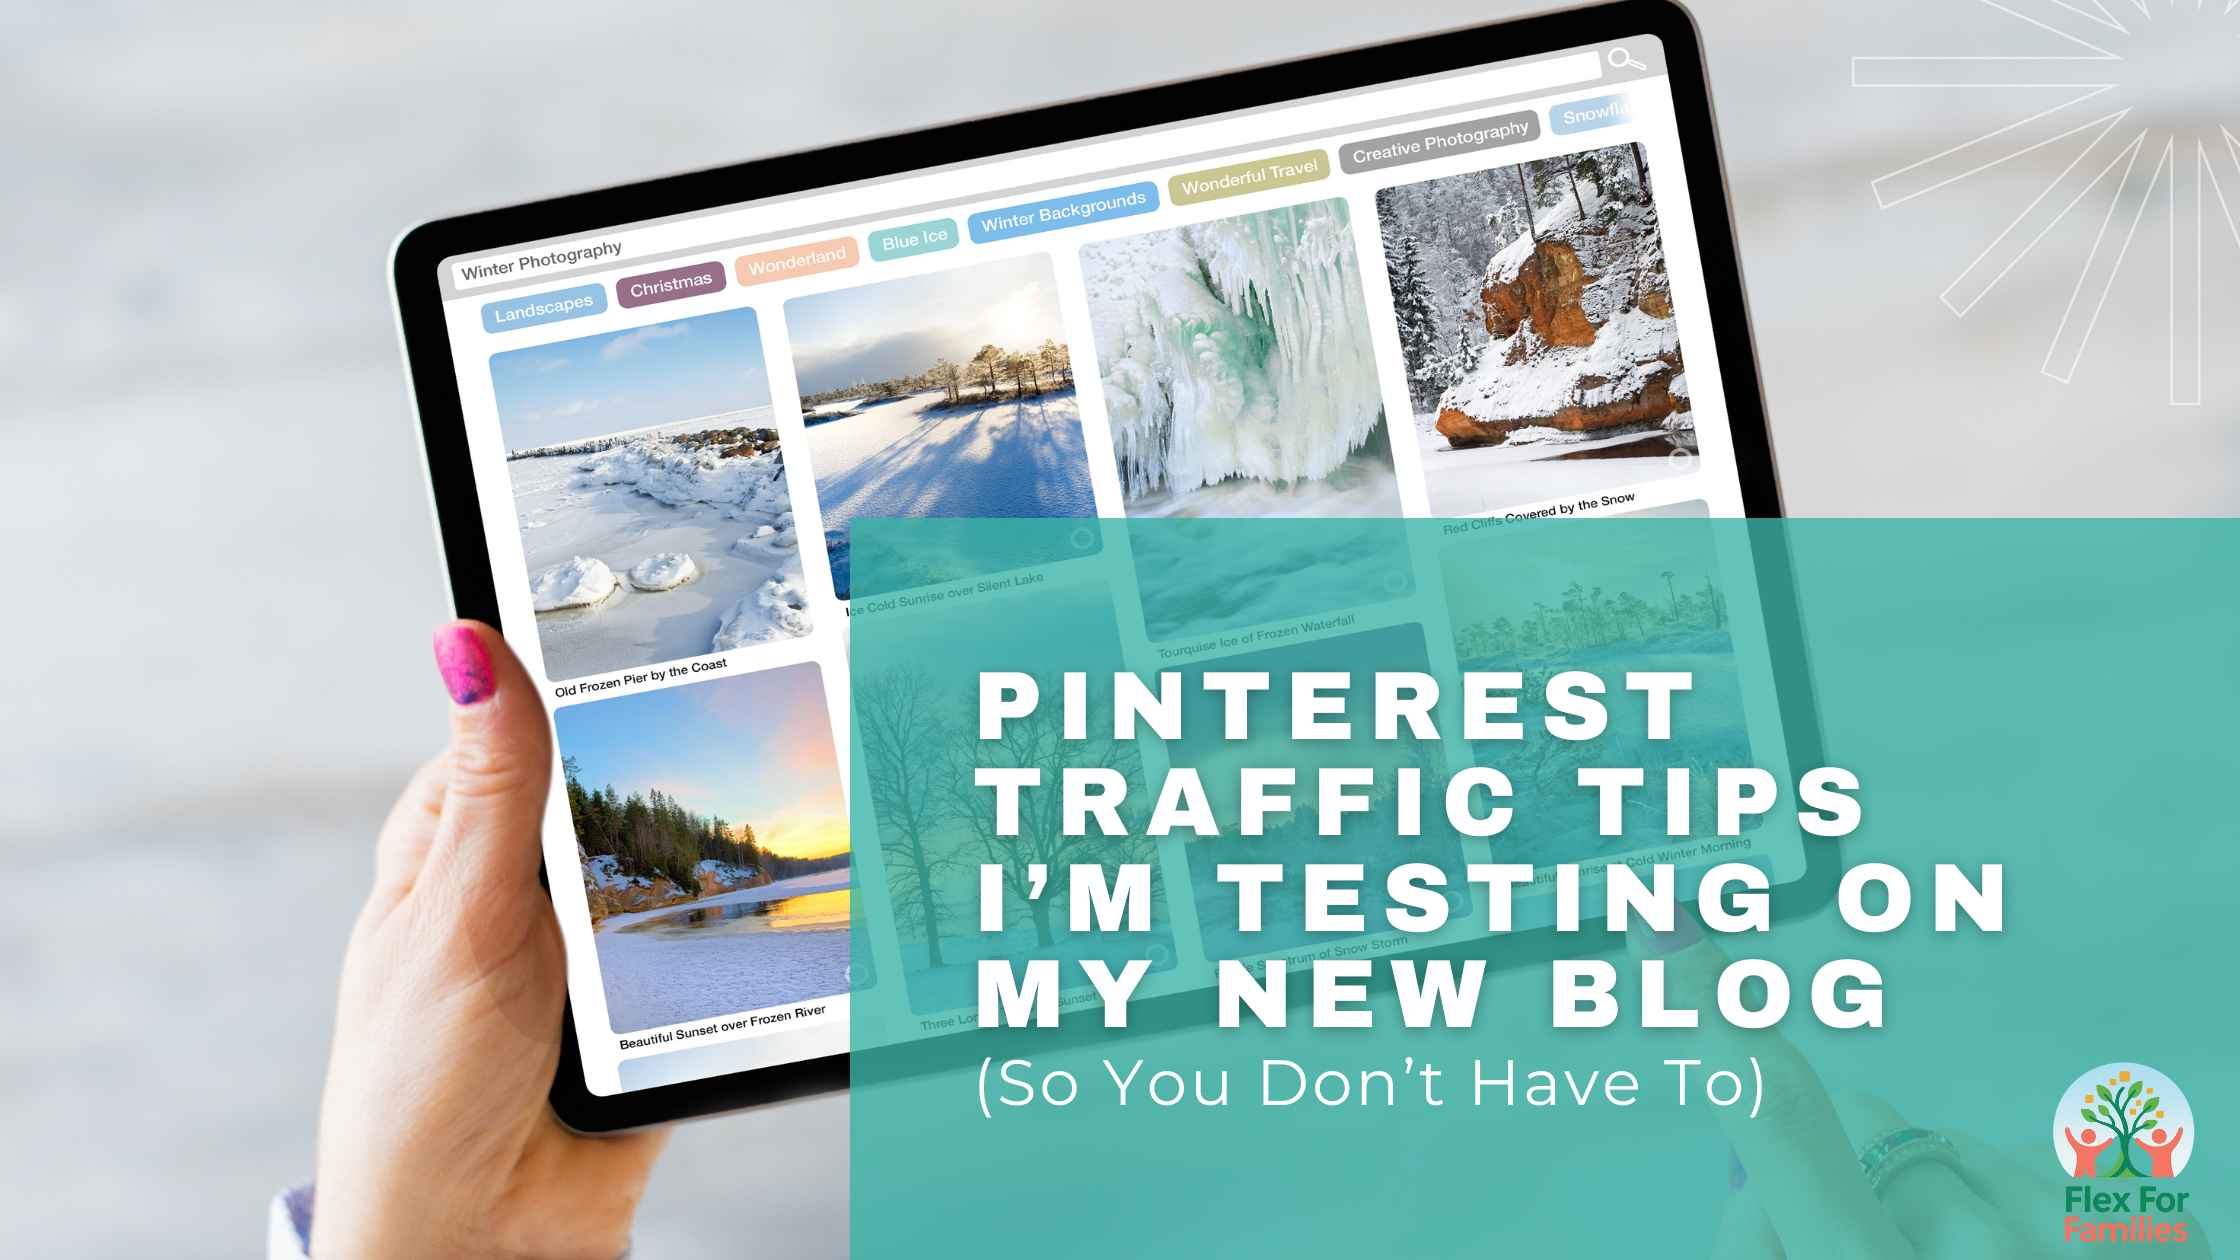
In this post, I’ll share the exact Pinterest strategies I’m testing on my brand-new blog. Some are working surprisingly well, others not so much. And by the end, you’ll know which tips are worth your time (and which you can skip).
Why Pinterest Works for New Blogs
Before we dive into tips, let’s talk about why Pinterest is such a good platform for new bloggers:
- It’s a search engine, not just social media. Think of Pinterest like Google, but with pictures. People type in what they’re looking for (like “easy toddler meal ideas” or “side hustles for parents”), and your content can show up, even if your blog is small.
- You don’t need a big following. Unlike Instagram or TikTok, pins can go viral without you having thousands of followers. That levels the playing field for beginners.
- It’s great for evergreen content. Parenting tips, meal plans, budgeting guides, blogging tutorials—these kinds of posts stay relevant. A pin you create today could send traffic months (or even years) from now.
For a brand-new blog like mine, Pinterest feels like a shortcut to visibility.
Pinterest Traffic Tips I’m Testing Right Now
Here’s a breakdown of the exact strategies I’m currently trying out. And what I’ve learned so far.
1. Setting Up a Business Account
If you haven’t already, switch your Pinterest profile to a Business account. It’s free, and it unlocks features like:
- Analytics: See which pins are driving traffic.
- Rich Pins: Pull in details (like your blog post title and description) automatically.
- Credibility: It just looks more professional when someone lands on your profile.
👉 Example: When I first switched, I could instantly see impressions on my pins. Even though my numbers were small, it felt encouraging to know people were finding my content.
2. Designing Pins That Pop (With Canva)
Pinterest is a visual platform, so pin design matters. I use Canva to create all of mine. It’s beginner-friendly and has templates designed specifically for Pinterest.

Here’s what I’ve learned so far about designing effective pins:
- Bold, clear text beats fancy fonts. People scroll quickly; your pin should be readable in 2–3 seconds.
- Use strong colours and contrast. Light text on dark backgrounds or bright accent colours tends to stand out.
- Keep it simple. A cluttered pin gets ignored.
👉 Example: I made two pins for the same blog post. One with fancy script fonts and another with a bold, block-style title. The block-style pin got 5x more impressions in its first week.
And here’s a bonus: Canva doesn’t just let you design pins—you can also publish and schedule them directly to Pinterest. This has been a game-changer for me as a busy parent blogger. Instead of creating and pinning daily, I batch-create a week’s worth of pins and schedule them to go out automatically.
👉 If you want to see my full thoughts on Canva (pros, cons, and whether the paid plan is worth it), check out my Canva Review for more details.
3. Treating Pinterest Like a Search Engine
This was a big “aha” moment for me: Pinterest isn’t about being artsy. It’s about being searchable.

That means you need to:
- Add keywords into your pin titles (“Pinterest Traffic Tips for Beginners” is more searchable than “Grow Your Blog”).
- Write keyword-rich descriptions (2–3 sentences explaining what your post is about).
- Name your boards strategically (e.g. “Blogging Tips for Beginners” instead of “My Favourites”).
👉 Example: One of my pins about blogging started gaining impressions after I updated the description with phrases like “Pinterest for new bloggers” and “grow blog traffic fast.” The search visibility jumped within a few days.
4. Fresh Pins > Spammy Repins
Pinterest’s algorithm now favours “fresh content.” That doesn’t mean you need to write new blog posts every day. It just means you should create new pin designs for your existing posts.
What I’m doing:
- For each blog post, I design 3–5 different pin graphics.
- I change up colours, text placement, and images while keeping the same blog link.
- I spread out when I publish them, so Pinterest sees them as new content.
👉 Example: My post about starting a blog had 4 different pin designs. The first one barely moved, but the third design suddenly took off and started getting steady impressions. That’s why testing different designs matters.
5. Scheduling Pins With Canva
Earlier, I mentioned scheduling with Canva, but it’s worth highlighting again. Most bloggers talk about Tailwind (a separate scheduling tool), but Canva has a built-in scheduler if you’re on the Pro plan.

So far, here’s what I’ve found:
- Canva scheduling is seamless if you’re already designing pins there.
- It saves me time because I can go from design → publish without downloading and re-uploading.
- It’s less complicated than Tailwind, though it doesn’t have the same analytics depth.
👉 Example: I batched 10 pins in Canva on a Sunday night, scheduled them for the week ahead, and then didn’t have to think about Pinterest again. For a parent blogger juggling family life, that’s priceless.
(Again, if you’re curious about whether Canva Pro is worth it for bloggers, check out my full Canva Review.)
What’s Working (and What’s Not)
So, how’s it going so far? Here’s the honest breakdown:
✅ Working Well:
- Keyword-rich pin descriptions → Pins are starting to show up in search.
- Simple, bold pin designs → Clear beats pretty every time.
- Scheduling in Canva → Huge time-saver and keeps me consistent.
❌ Not Working (Yet):
- Posting too many similar pins at once → Pinterest doesn’t like spammy behaviour.
- Script-heavy fonts → They look nice but don’t perform.
🤔 Still Testing:
- Canva scheduling vs. Tailwind → Canva is great for simplicity, but I might test Tailwind later for group boards and advanced analytics.
Why You Should Start Pinterest Now (Even If You’re New)
Here’s the thing about Pinterest: it’s not an overnight traffic hack. It takes time for pins to circulate and gain traction.

That’s actually why new bloggers should start as soon as possible. The pins you create today could be sending you steady traffic six months from now. If you wait until your blog is “established,” you’ll miss out on all that potential momentum.
👉 Even if you only have time to create 1–2 pins per post, start now. Your future self (and your future blog traffic) will thank you.
Final Thoughts
Blogging can feel like a marathon when you’re just starting out. But Pinterest gives beginners a fighting chance to get noticed without waiting years for Google SEO to kick in.
The good news? You don’t need to master everything at once. Start small. Pick one or two of the strategies I shared—like creating keyword-rich pin descriptions or using Canva to schedule fresh pins—and build from there.
That’s exactly what I’m doing, and little by little, the traffic is starting to grow.
👉 If you’d like a simple, parent-friendly way to stay on track, grab my Nap Time Blogging Checklist here: Nap Time Blogging Checklist.
And because Pinterest is such a powerful tool for new bloggers, when you sign up, I’ll also send you my Pinterest Starter Checklist as a free bonus. That way, you’ll have both tools at your fingertips to help you grow your blog—even in the smallest time pockets.